
ID : 5271
I/O Mode Setting from WINCAPSIII
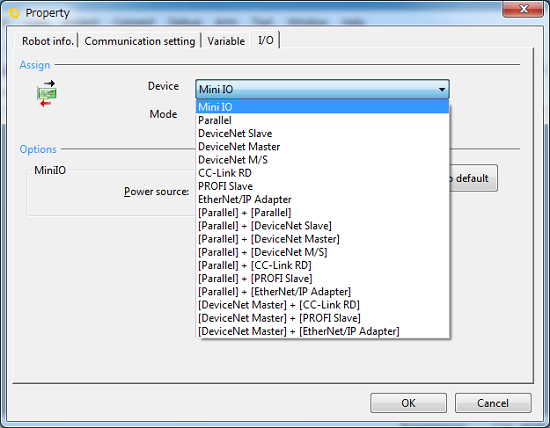
1
Choose Project | Property to display the Property window.
Choose the I/O tab.
2
In the Assign area, pull down the Device menu and select the desired I/O extension board.
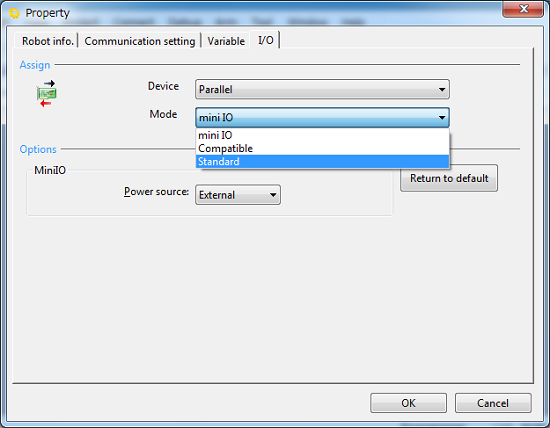
3
Pull down the Mode menu and select the desired assignment.
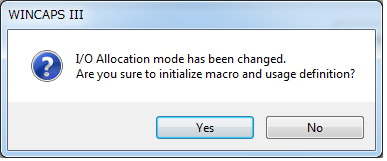
4
In the window above, press OK, and the following message appears.
In the dialog box below, press Yes if there is no problem with initialization of macro and usage definition; press No if there is a problem. Pressing either one changes the allocation.
5
Choose Connect | Transfer data to display the bidirectional transfer dialog box. Select I/O in WINCAPSIII and press [Send] to transfer I/O assignment from WINCAPSIII to the robot controller.
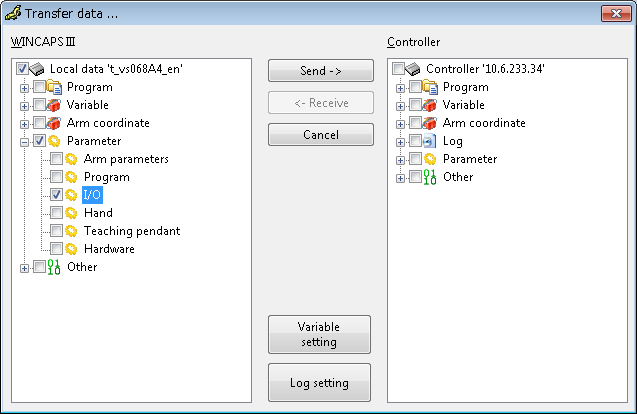
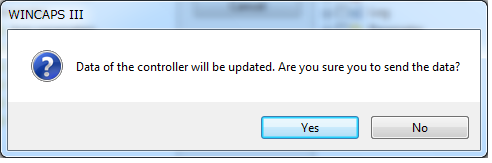
6
As shown below, the confirmation message appear. Press Yes to transfer data to the controller.
The data transferred takes effect when the controller is restarted.
Do not select an I/O extension board not mounted. Doing so and transferring assignment data to the controller results in an error when the controller is restarted after reception of the data.
ID : 5271