Turning ON Robot Controller
It allows robot operation from teach pendant and mini-pendant, or automatic robot run by turning on the robot controller.
Turning ON Robot Controller
To operate the robot, it is necessary to turn on the robot controller.
The robot controller controls and supplies all power needed for the operation of robot.
Operation Procedures
1
Press "-" display side of power switch of the controller shown in the figure below until it clicks.
Power lamp (the leftmost of three pilot lamps) turns on. The other two pilot lamps, "Automatic mode" and "Error", briefly flash immediately after turning on.

Once the controller is powered-ON, do not turn off the controller until the initialization has completed.
Otherwise, data you have created may be damaged.
Completion of the Initialization
You can check the completion of the initialization with the following messages or signals.
| TP | When "Initializing" is disappeared. | |
|---|---|---|
| I/O | Mini IO-dedicated allocation | When "Robot Initialized" or "Robot Error" (both of them are Mini IO-dedicated allocations) is output. |
| Standard assignment mode | When "Robot Initialized", "Robot Error" or "Robot Warning" (both of them are Standard assignment mode) is output. | |
| RC3 compatible assignment mode | When "Robot Power ON Complete", "Robot Error" or "Robot Warning" (RC3 compatible assignment mode) is output. |
|
Language Settings
The screen to select the appropriate language is displayed when turning on the controller. Select your language and press [OK].
1
Teach pendant displays the screen to select the appropriate language when turning on the controller.
2
Select your language and press [OK].
3
Select "Do not display", and press [OK] to not display language selection screen from next time.
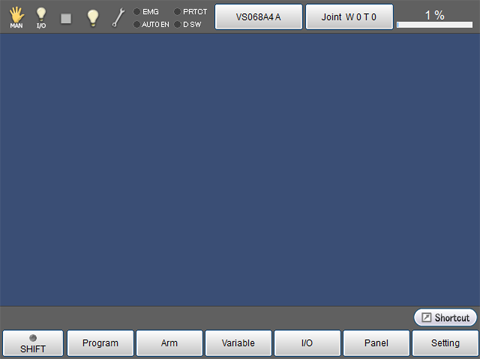
4
Display the basic screen.