
ID : 9668
Setting Connection with WINCAPSIII
Connecting Through Ethernet
Set the robot controller so that the computer (WINCAPSIII) and robot controller can communicate through Ethernet. This setting is performed with the smart TP.
Set communication permission and IP address.
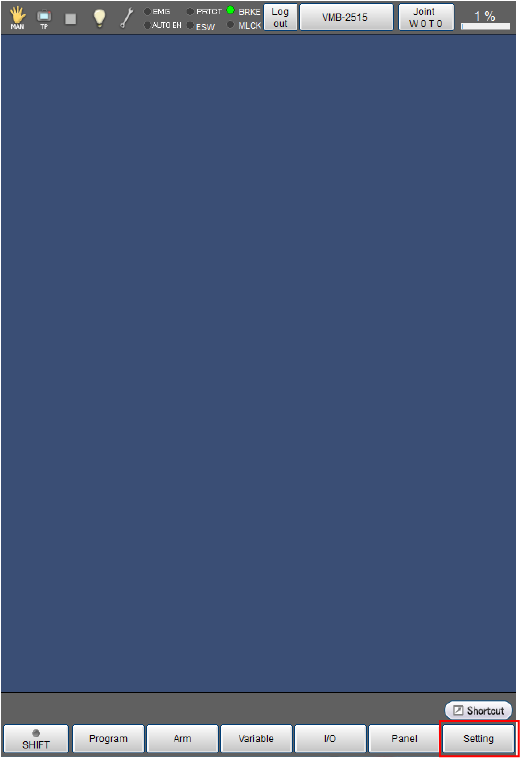
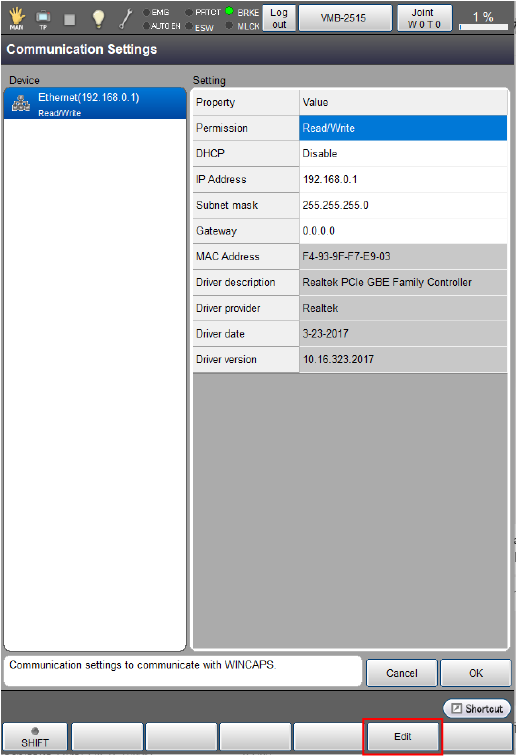
1
Press [F6 Setting] on the top window of the smart TP.
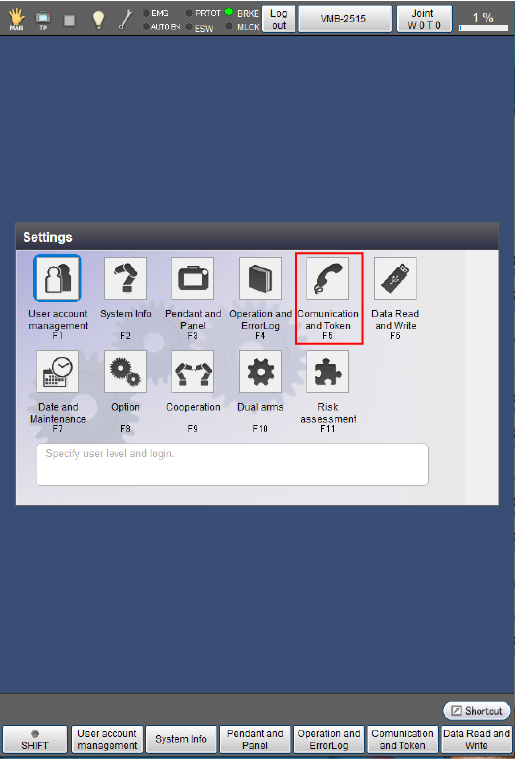
2
Press [F5 Communication and Token].
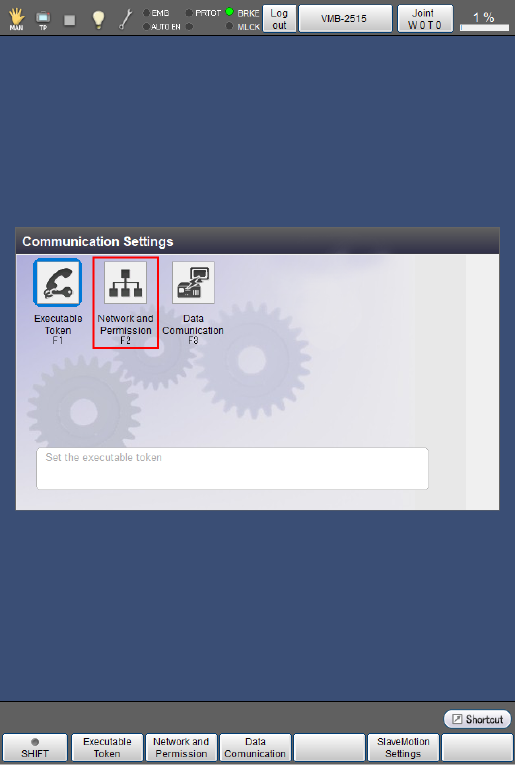
3
Press [F2 Network and Permission].
4
Select [Ethernet] in the "Device" pane.
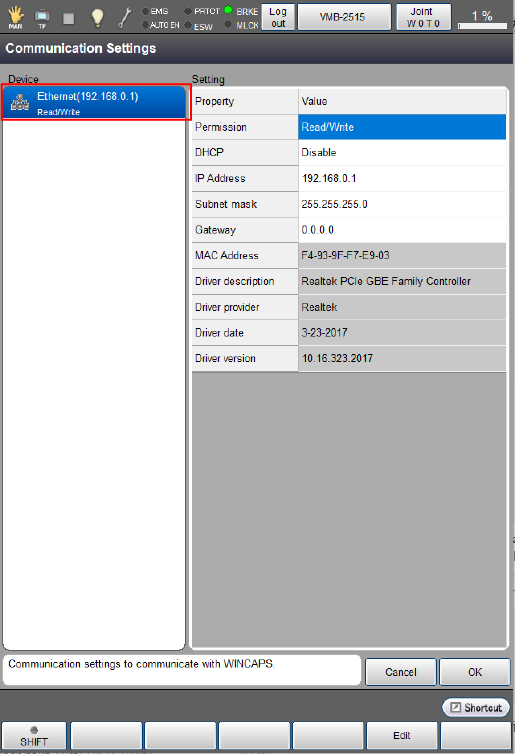
5
Select [Permission] and press [F5 Edit].
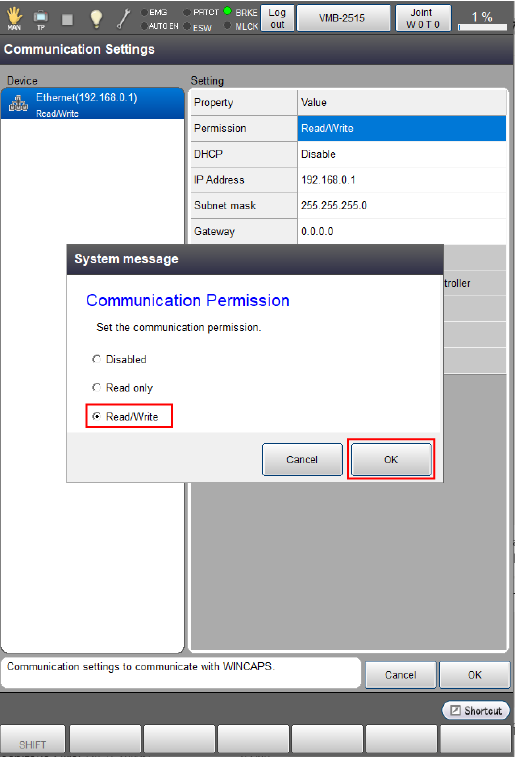
6
Select [Read/Write] and press [OK].
Communication permission is defined as follows.
To use Ethernet, it is necessary to select [Read/Write].
- Disabled : Communication port is not used.
- Read only : Data of robot controller can be read in PC.Data cannot be sent from PC to robot controller.
- Read/Write : Data can be bidirectionally exchangeable between PC and robot controller.
7
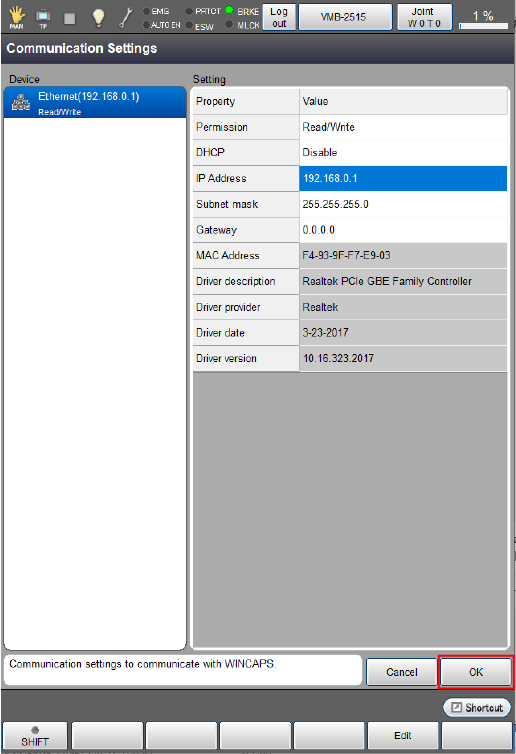
Select [IP Address].
- If DHCP is "Enable", you cannot edit [IP Address], [Subnet mask] and [Gateway].
- Do not set a value from 10.255.250.0 to 10.255.255.255 to IP address.
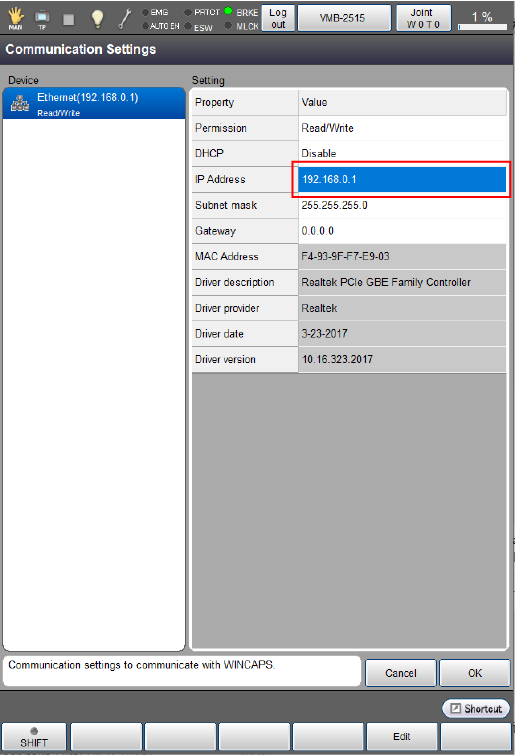
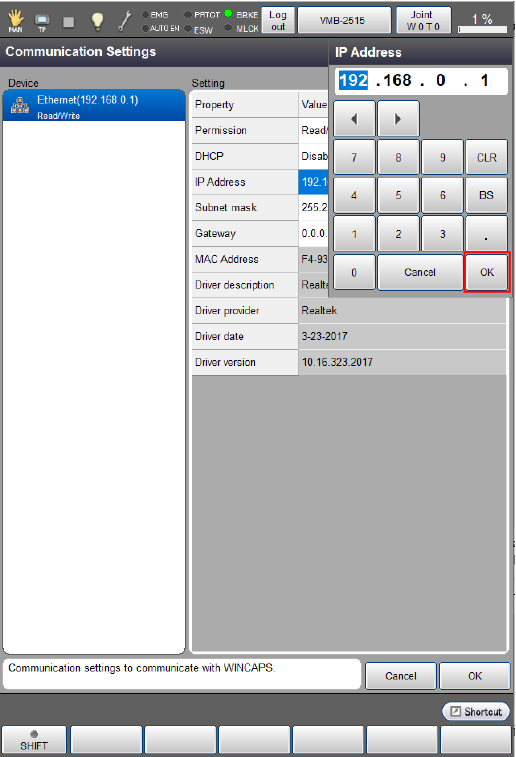
8
Press [F5 Edit].
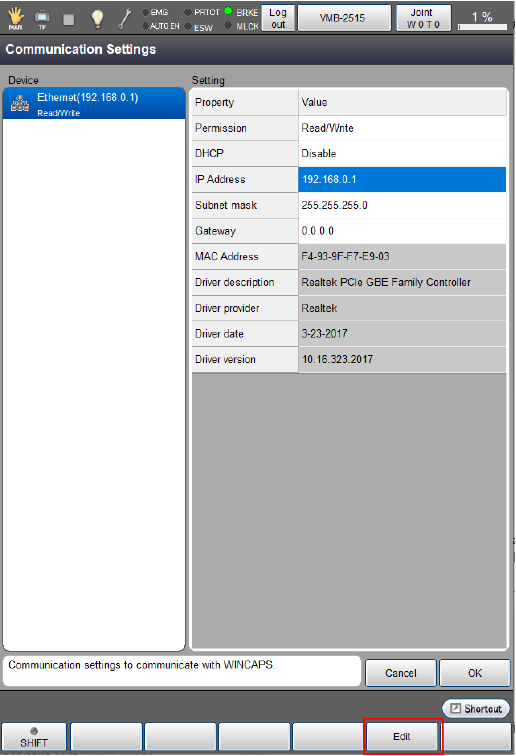
9
Enter an address using a numeric keypad, and press [OK].
You can use multiple Ethernet IP address by adding a LAN adopter listed in "RECOMMENDED BOARD LIST".
Note that communication may fail if IP addresses in the same network are used.
- Incorrect IP address assignment
LAN1 : 192.168.0.1
LAN2 : 192.168.0.2 - Revised IP address assignment
LAN1 : 192.168.0.1
LAN2 : 192.168.1.2
10
If subnet mask is also required to be changed, follow the operation procedure (STEP 7 to STEP 9) to change it.
11
Press [OK] on Communication Settings screen.
ID : 9668