
ID : 11127
Parameter Setting
Use the smart TP or WINCAPSIII to specify the parameters for the external force following control function.
For details of the parameters to be specified, refer to "Parameter List".
Using the Smart TP
This section describes how to specify the parameters for the external force following control function using the smart TP.
1
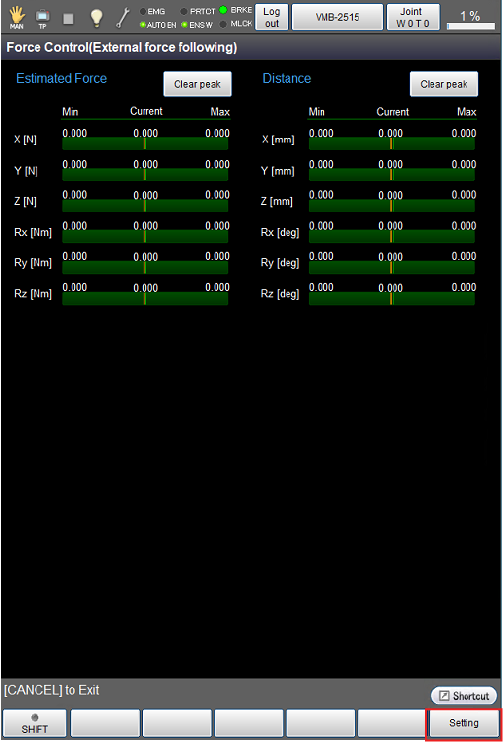
Operation path: Top screen - [F2 Arm] - [F2 Force Control]
On the [Force Control (External force following)] screen, press [F6 Setting].
2
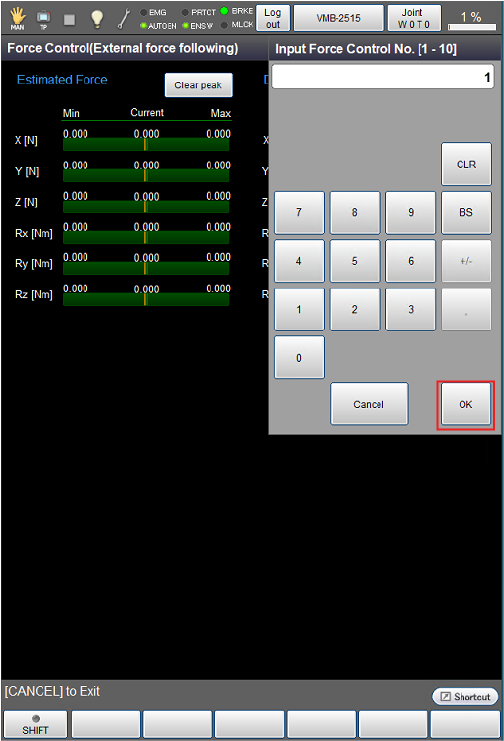
A numeric keypad for entering a force control number appears. Use the keypad to enter a force control number.
Force control number is a table number for specifying the parameters. You can select from 1 to 10.
The [Force Control Setting] screen will appear as shown in STEP3.
- To cancel the entered value, press either [CLR] or [BS].
- Confirm the entered value, and then press [OK].
- Pressing [Cancel] will take you back to the previous screen.
3
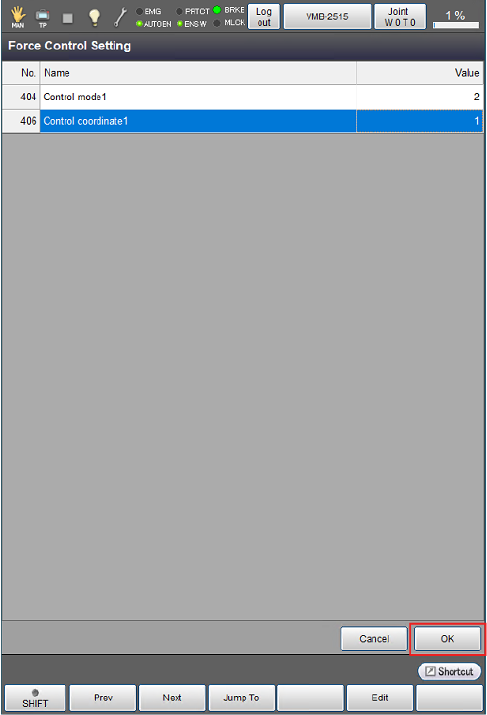
Select a parameter to be specified. The selected row will be highlighted.
Press [F5 Edit] to enter a value or to select an item. Press [OK] to confirm the setting.
After specifying all items, press [OK].
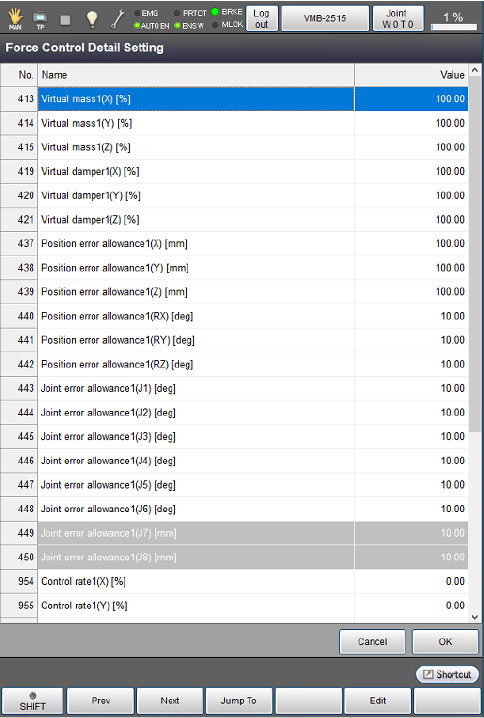
To specify the parameters in more detail, press [F12 Detail Setting] on the [Force Control (External force following)] screen to display the [Force Control Detail Setting] screen where you can specify items as necessary.
This completes the parameter setting.
Using WINCAPSIII
This section describes how to specify the parameters for the external force following control function using WINCAPSIII.
1
Operation path: [Project] - [Parameter] - [Force Control]
From the menu on the left side of the [Parameter] screen, select [Force Control].
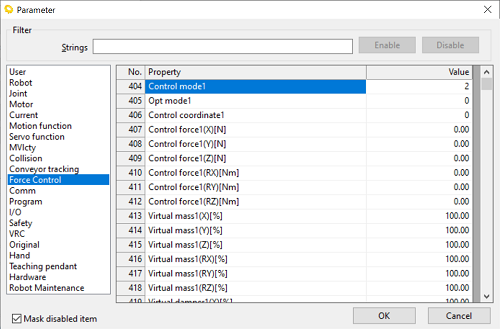
2
Select [Value] of the parameter to be specified. The selected row will be highlighted.
Enter a value or select an item, then press [OK] to confirm the setting.

3
After specifying the parameters, use [Data Transfer] to transfer the project to the robot controller.
This completes the parameter setting.
ID : 11127