
ID : 4099
USB Camera Setting
This section explains the setting of a USB camera manufactured by IDS.
Using IDS Camera Manager, set a camera ID and trigger mode.
Use a camera in the trigger mode.
Camera driver's version is 4.81.0.
Camera ID Setting
1
Start IDS Camera Manager
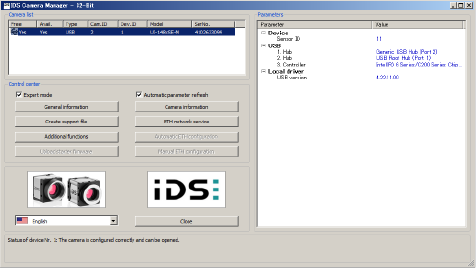
2
Select a camera to set ID from the camera list.

3
Click Camera information.
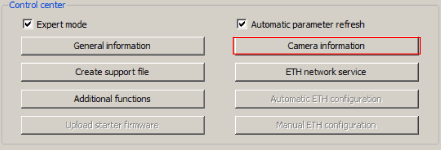
"Camera information" dialog box is displayed.
4
Enter an arbitrary Camera ID, and then click OK.
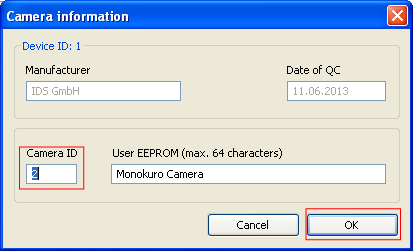
Camera ID ranges from 1 to 5.
User ID 1 to 5 correspond to ID 206 to 210 of the controller image storage area.
Do not use duplicate Camera ID when multiple cameras are used.
Trigger Mode Setting
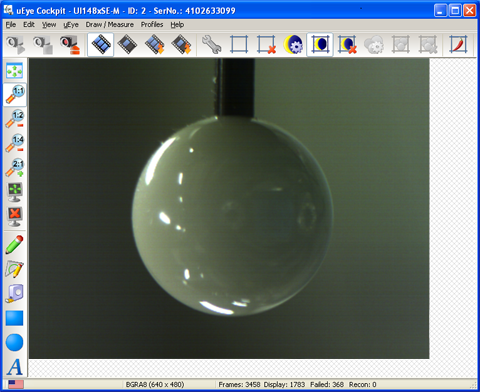
1
Double-click the model of a camera that you intend to set the shooting condition.
"uEye Cockpit", which is a window to process images, is displayed as shown below.
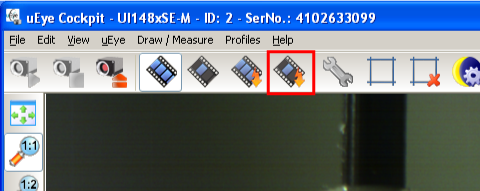
2
Click a button shown below. This button is used to capture a single flame by the trigger mode. Continuous mode is finished.
3
Click the Camera Properties button shown below.
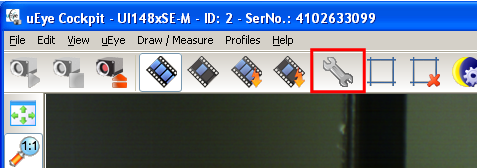
uEye camera parameter setting window is displayed.
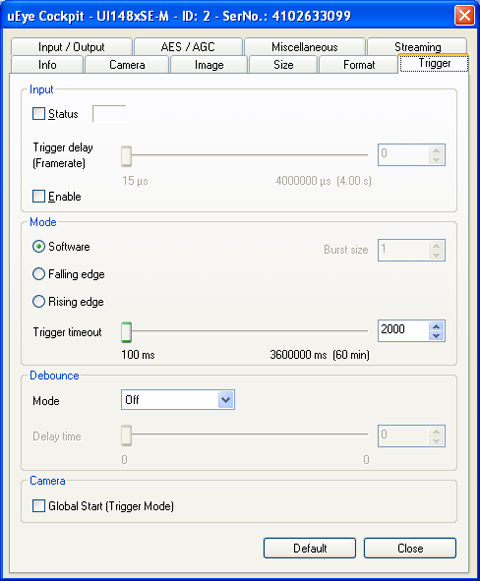
4
Select [Trigger] tab.

5
In the Mode area, select "Software".
(If hardware-trigger is used, select either "Falling edge" or "Rising edge".)

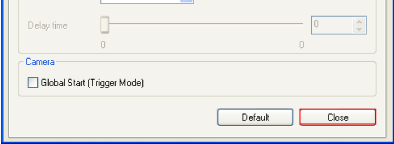
6
Click Close to finish the uEye camera parameter setting window.
7
Click File>Save Parameters>Parameter set to save the setting into the camera.
For details, refer to the camera setting manual of IDS.
ID : 4099