ID : 4212
Adding Objects
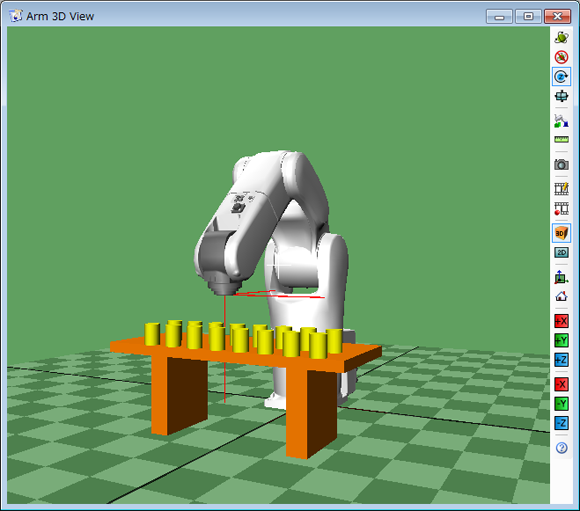
The following is the procedure for adding the pallet bench, pallet, work pieces, and other objects to the Arm 3D view window.
Layout Example
As our example, let's start with the pallet bench.
1
From the menu bar, click View, select Arm View to display Arm 3D View.
2
On the object tree, select a node that will be parent of a newly created object.
3
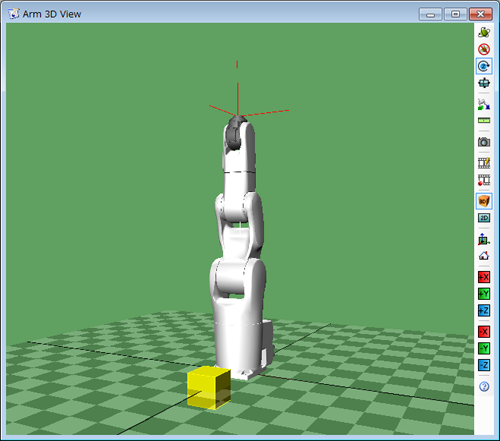
Press  (Box) button in the Model tree window to add a box to the Arm view window.
4
Change the object name and color.
-
Change name
On the object tree, right-click on the newly created object, and then select Change name. You can rename the object.
- Changing color
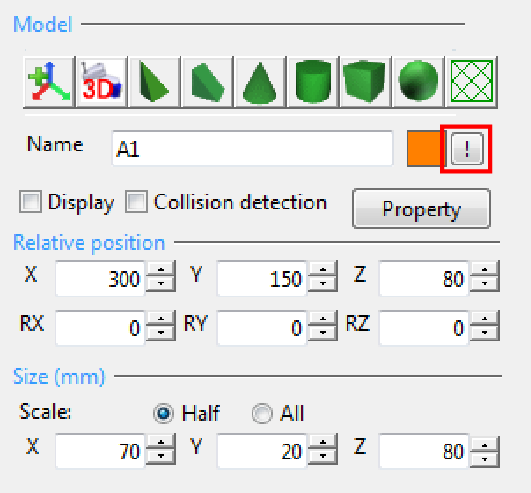
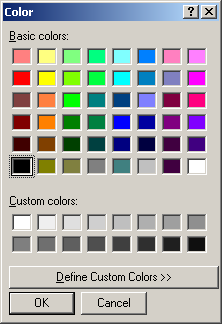
On the Model tree, click the [!] button and change the color on the [Color] dialog.
5
Change the object's position and size.
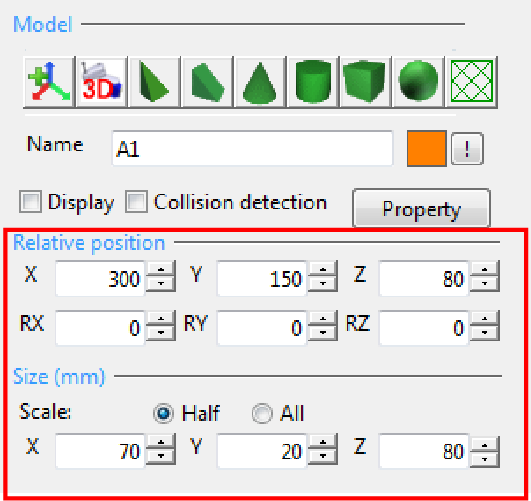
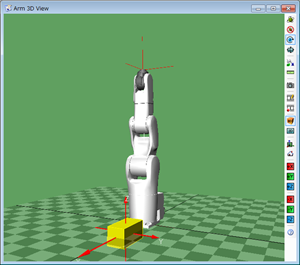
6
Add objects to complete the pallet bench.
Here, it is faster to copy and paste the above box as the second leg and then again as the starting point for the top.
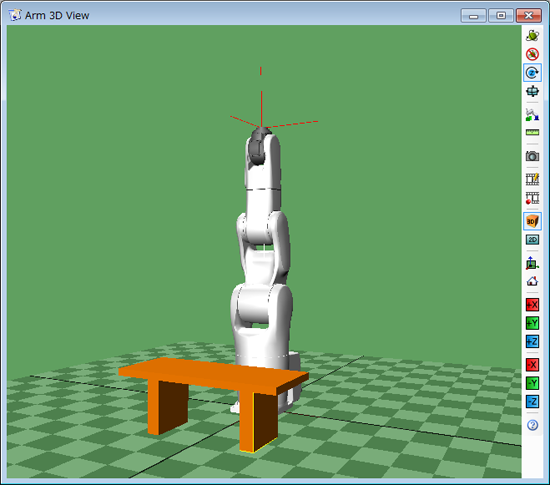
Changing Display Style
The way the object is displayed can be altered with the Model tree Property button.
Clicking the Property button displays the dialog box below.
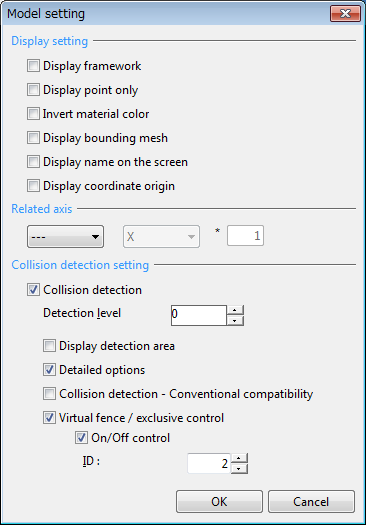
Display Setting
Set object display properties.
Related Axis
Settings for objects moving in relation to the added axes in the case of projects with added axes. Set the axis, movement and movement units.
Collision Detection Setting
- Collision Detection
Select this box to use the collision detection function. - [Detection level]
Set the level of the collision detection area. - [Display detection area]
Select this box to display the collision detection area in [Arm 3D View]. - [Detailed options]
Select this box to specify the details of collision detection (in objects). - [Collision detection - Conventional compatibility]
Select this box to execute collision detection in the conventional way (RC8 Ver.1.11.* or earlier). - [Virtual fence / exclusive control]
Select this box to use the virtual fence/exclusive control function. - On/Off control
To enable/disable this function from a program, select this box and enter a target model ID.
ID : 4212

