
ID : 7193
Procedure of the Calibration
1
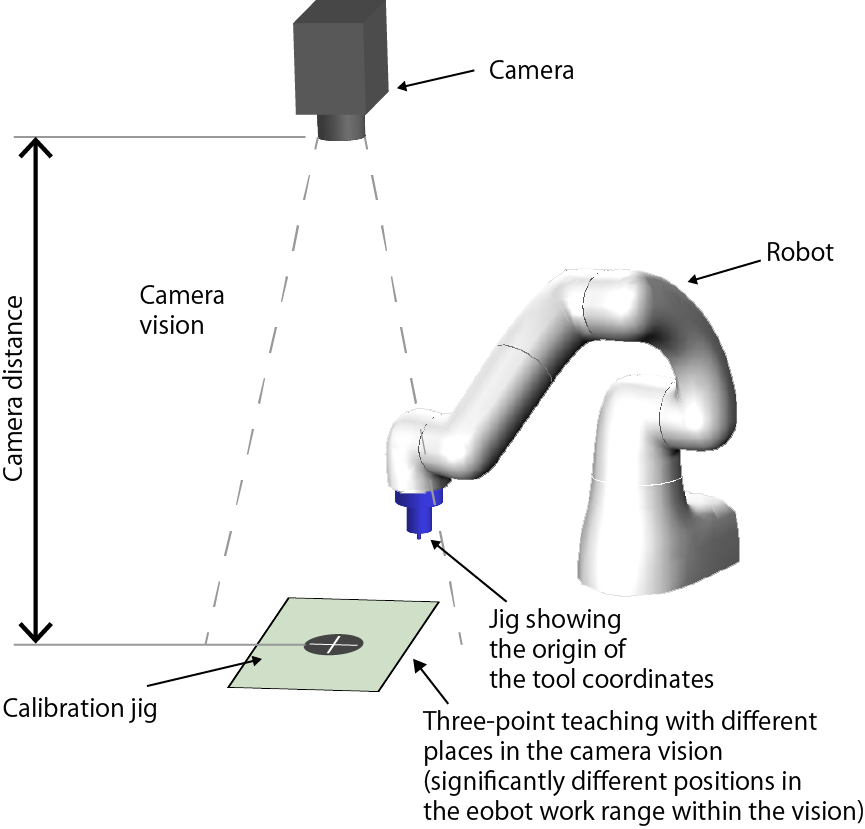
Make the following preparations.
- Prepare a jig showing the origin of the tool coordinates to teach the tool defined origin position more accurately.
- Prepare a calibration jig with a mark that can be recognized with a visual device.
- Lay out by using the camera distance and vision size with the same recognition as in the actual work, as shown in the figure below.
2 Registering Vision Coordinates of Point 1
Register the vision coordinates of point 1. There are two methods of registering them.
2-1 Manual Input of Vision Coordinates
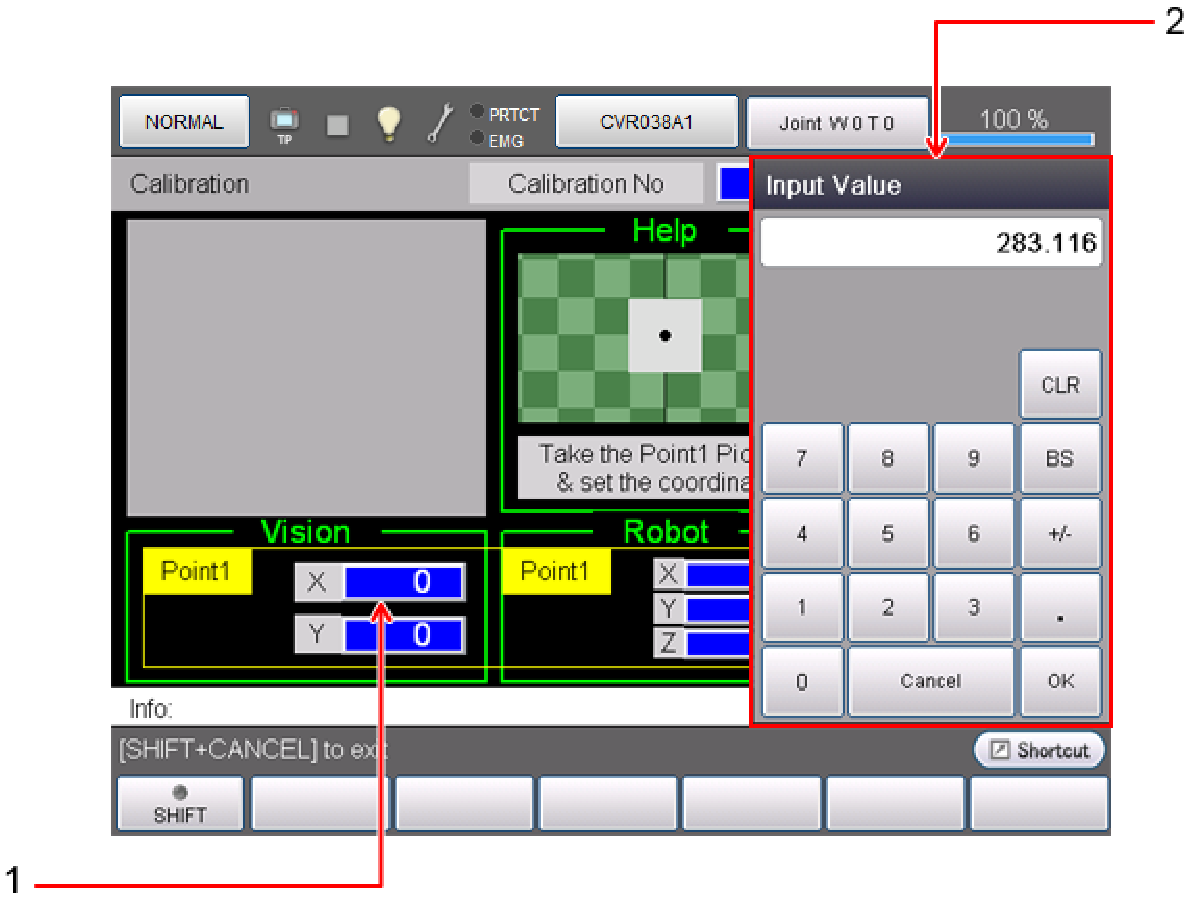
Use the camera to take an image of point 1 and read the coordinates. Enter the read coordinates in the following procedure.
Touch the coordinate part (1) to display the numeric value input screen (2). Enter the vision coordinates (X, Y) read by the visual device and press [OK] button.
2-2 Automatic Input of Vision Coordinates
If a supported model of visual device is used, the vision coordinates of the centroid position of the mark can automatically be entered.
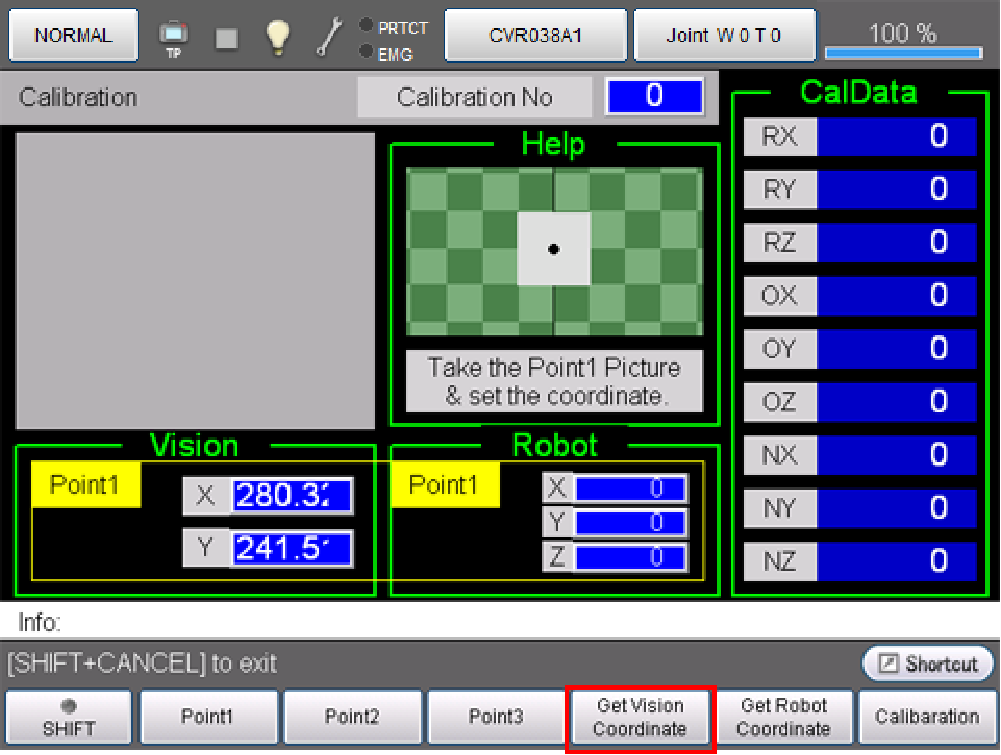
Press the [Acquire Vision Coordinates] button with the visual program and robot program (TSR10.pcs) activated to read the centroid position of the mark and automatically acquire the vision coordinates.
The acquired result is displayed in the [Vision] window.
3 Registering Robot Coordinates of Point 1
Move the robot without moving the jig that read the vision coordinates, align the origin of the tool coordinates with the centroid position of the mark, and read and register the robot coordinates.

Press the [Acquire Robot Coordinates] button to read the robot coordinates and display them in the [Robot] window.
4 Registering Coordinates of Point 2
Change the position of the jig and register the vision coordinates and robot coordinates of point 2.
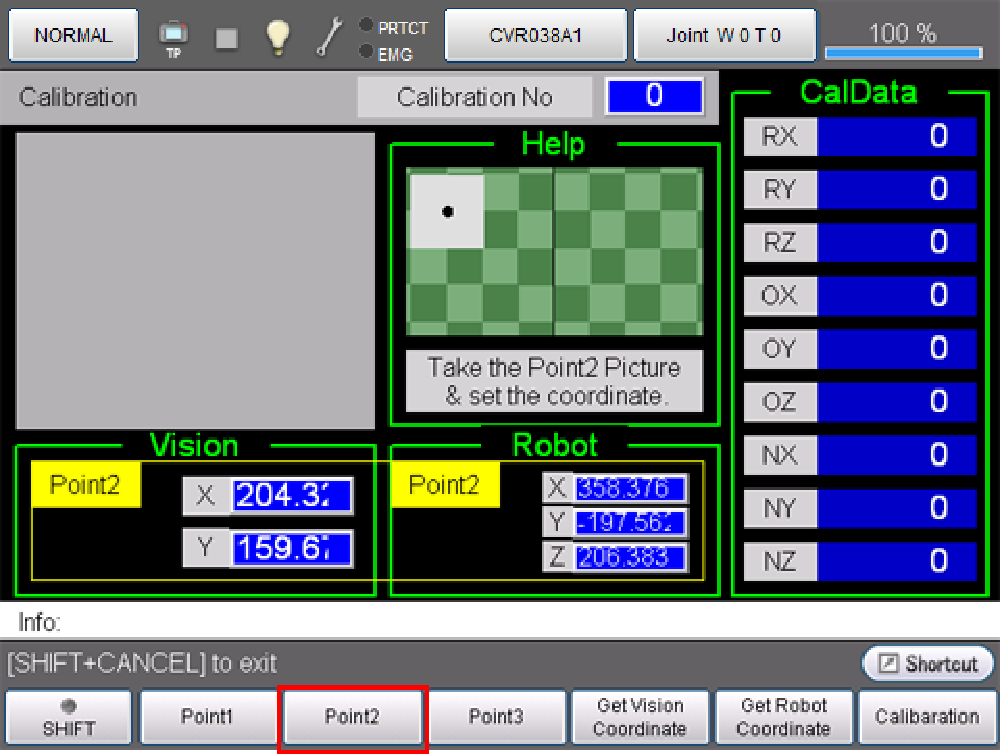
Pressing the [Point 2] button enables registering the vision coordinates and robot coordinates of the second point.
Register it in the same way as point 1.
5 Registering Coordinates of Point 3
Similarly, change the position of the jig and register the vision coordinates and robot coordinates of point 3.
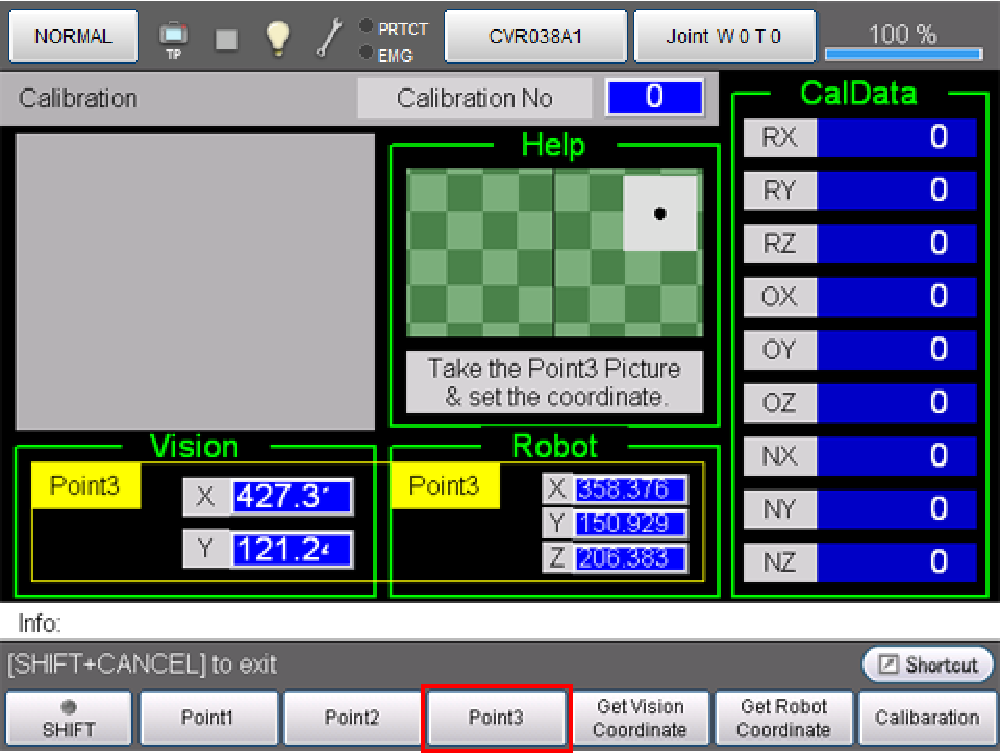
Pressing the [Point 3] button enables registering the vision coordinates and robot coordinates of the third point.
Register it in the same way as point 1.
6 Calculating Calibration Data
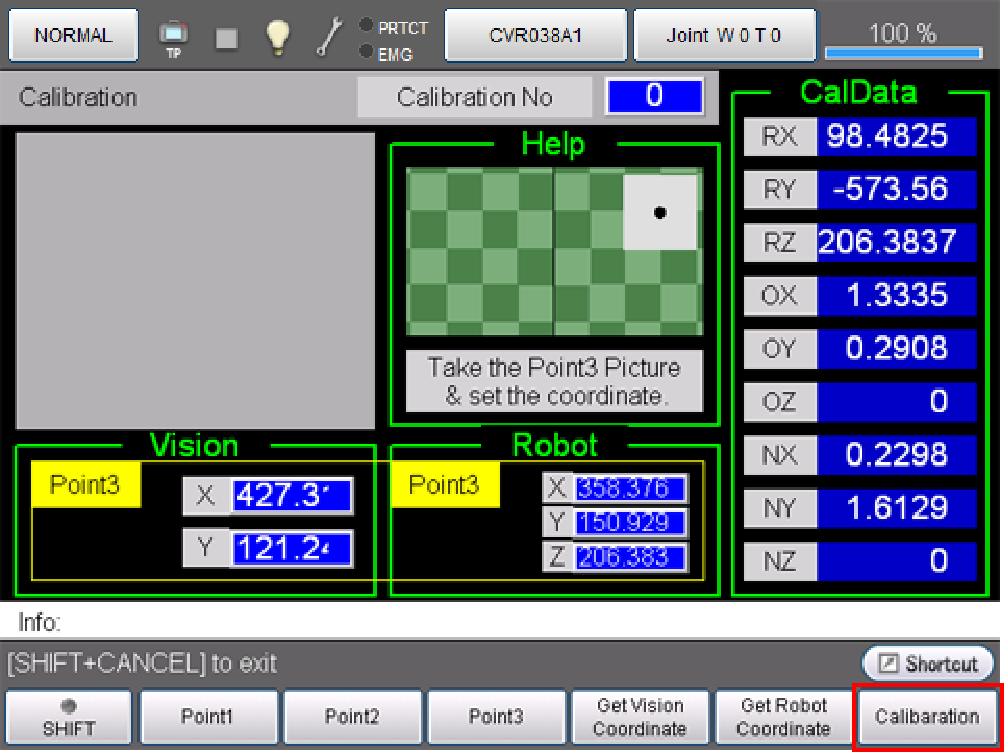
Press the [Calibration] button to calculate CalData based on the registered data of points 1 to 3 and display the result in [CalData].
The calculation result of CalData can also be verified in the result confirmation screen.
Other calibration results can also be registered to calibration numbers 0 to 31.
7 Saving Calibration Data
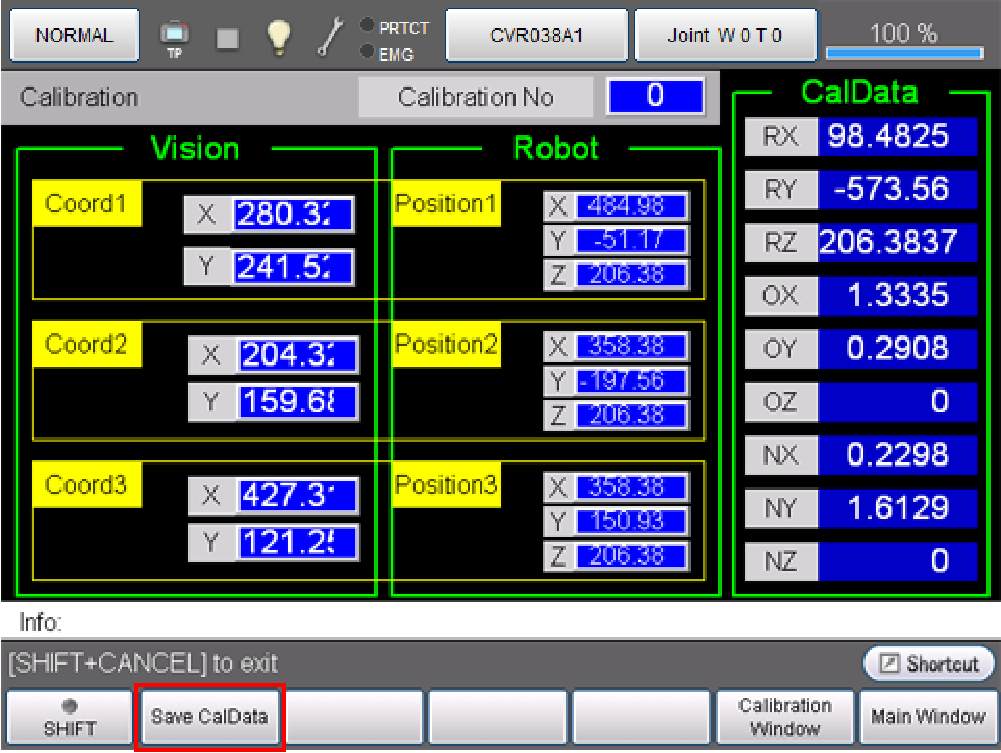
Switch to the result screen and press the [Save CalData] button to save the calibration results.
Now the calibration work is complete.
CalData is not saved without performing this saving operation.
ID : 7193