
ID : 9948
Setting IP Address
Key
[COM] ([SHIFT]+[HALT])

Operation
1
Press [COM] to call up the "COM Setting" screen shown below which lists communications settings for the robot controller.
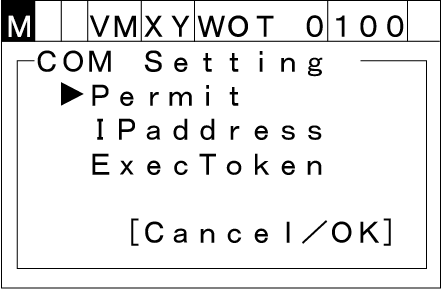
2
Choose [IP address] with the up and down cursor keys and then press [OK]. IP address setting screen appears as shown below.
To abort setting, press [Cancel].
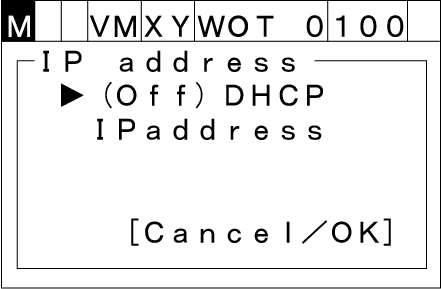
3
Choose [IP address] with the up and down cursor keys and then press [OK]. A numerical value input screen for IP address appears as shown below.
Do not set a value from 10.255.250.0 to 10.255.255.255 to IP address.
To abort setting, press [Cancel].
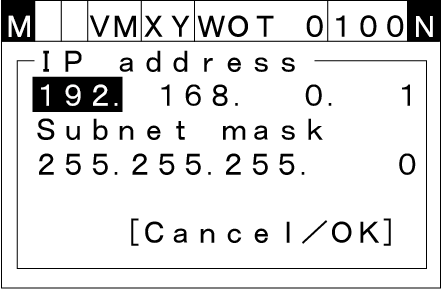
4
Choose the item with the up, down, right, left cursor keys. The numerical keypad is also available to change the value.

5
To confirm the value, press [OK].
To abort setting, press [Cancel]. Normally, "Subnet mask" is not necessary to change.
You can use multiple Ethernet IP address by adding a LAN adopter listed in Recommended Board List.
Note that communication may fail if IP addresses in the same network are used.
- Incorrect IP address assignment
LAN1:192.168.0.1
LAN2:192.168.0.2 - Revised IP address assignment
LAN1:192.168.0.1
LAN2:192.168.1.2
ID : 9948