
ID : 10273
Overview of Procedures for Creating TP Panel Data
The procedure for creating TP panel data consists of the following steps.
Load Editor
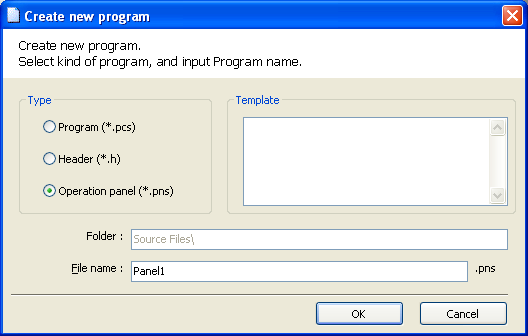
In WINCAPSIII, choose Project | Add Program to display the "Create new program" dialog.
In Type, select Operation panel (*.pns), enter the desired file name, and press OK to start the Panel Designer.
You can create one TP panel layout for one TP panel file only.
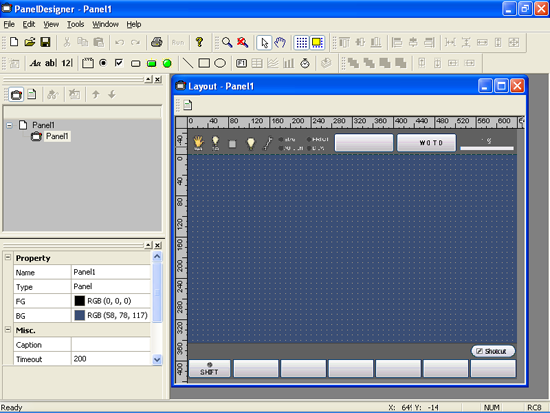
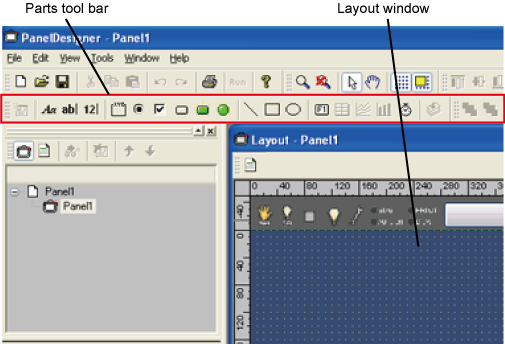
Create Panel Layout
Select the necessary parts from the Parts tool bar and arrange them in the Layout window to create the TP panel screen.
For further details, see "Creating and Modifying Panel Layouts."
Edit Action Source Code
Click the Display source code icon in the Layout window to display the Source Code Edit window.
Add to the Source Code Edit window the action source code for when the part is pressed.
For further details, see "Specifying Action Source Code for Parts."

Send Data to the Controller
Send the newly created TP panel file to the controller, using WINCAPSIII.
This step enables the smart TP to work as an operating panel.
For further details, see "Data Transfer."
ID : 10273