
ID : 10772
Setup (CALSET) with Smart TP
After receiving VL initial setting data and restarting the robot controller, perform VLA setup (CALSET and operation confirmation) in order.
First, execute CALSET by following steps below.
If the following errors occur at start-up, the wrong VL initial setting data has been sent to the controller or the robot model that is set to the controller is different from the connected robot model. Check the robot model and serial number and then send the VL initial setting data again from WINCAPSIII. If it is still not solved, contact our service representative.
- 0x85500392: VL initial setting data and Encoder serial number do not match.
- 0x855003A7: Failed to write the VL initial setting data to the controller.
1
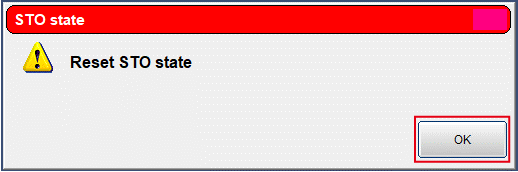
When restarting the robot controller, the safety precaution window is displayed.
Press [OK].
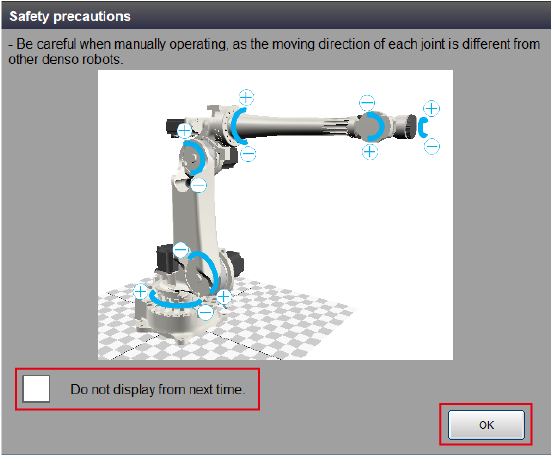
At the initial setting, this window is displayed every time the controller is turned on. If you touch the check box of “Do not display from next time” to select, this window will not be displayed from next time the controller is turned on. This function is available in Ver.1.1.* or higher.
2
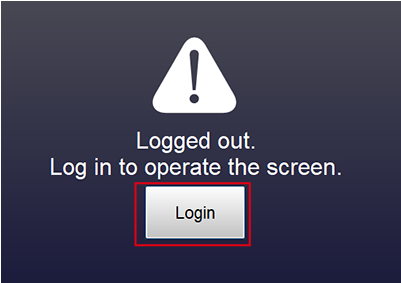
The window to ask to log in is displayed. Press [Login].
3
The login window is displayed.
Select the default account "Administrator". Enter the password "1234", press [OK].
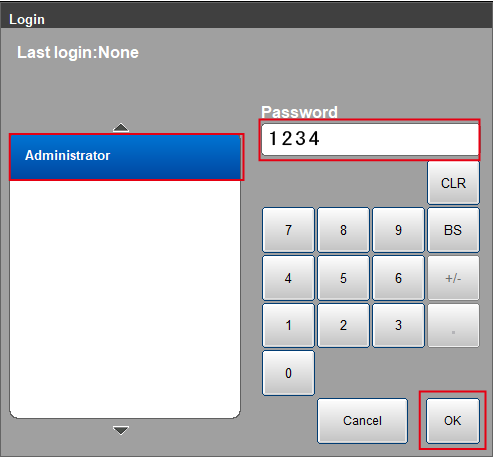
If the default account is changed, log in with an account that the user level is Maintainer or Risk Assessor. Setup is available with an account that the user level is Maintainer or higher.
4
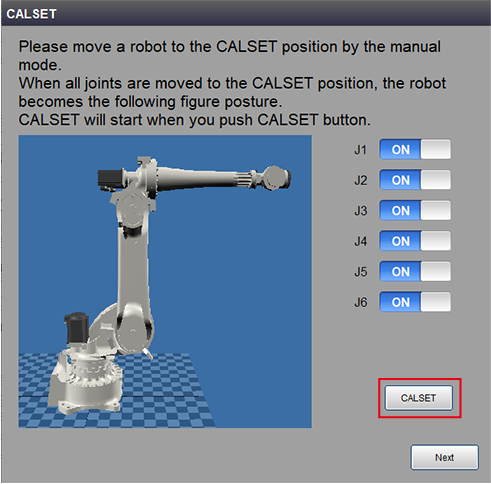
The CALSET window is displayed.
Move a robot to the CALSET position by the manual operation as shown in the figure below.
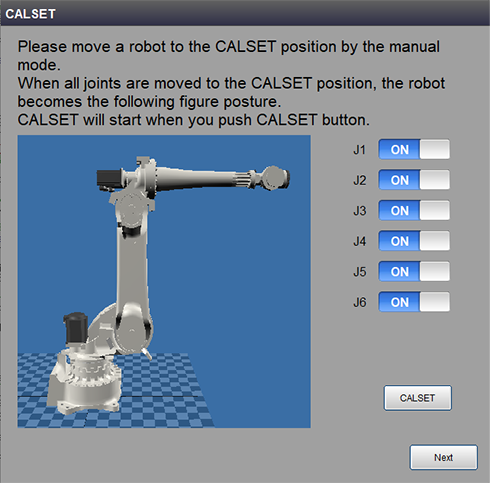
- Joint position at CALSET
1st axis2nd axis 3rd axis 4th axis 5th axis 6th axis 0° 0° -90° 0° 0° 0°
- Align the movable reference notch with the fixed reference notch on each axis visually. You do not need to use the calibration tool.
- If Auto mode is selected, you need to change to Manual mode.
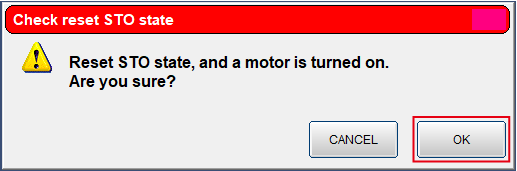
- When turning the motor on for the first time, the following two windows are displayed. Click [OK].
5
Confirm that all joints are [ON], press [CALSET].
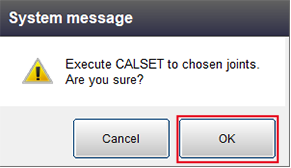
6
The window to check whether to execute CALSET is displayed. Press [OK].
CALSET will start.
7
Once CALSET is completed, the CALSET succeeded window is displayed. Press [OK].
This completes CALSET.
ID : 10772