
ID : 10774
VL Initial Setting with MP
After purchasing the VLA series robot, use MP (mini-pendant) to perform the initial setup by following the procedure below.
For details of the procedure, refer to the following links. Different procedures apply depending on the version of the controller software. Follow the procedure appropriate for the version.
If the controller is turned off before the initial setup is complete, you need to start over from the first step of the procedure when turning on the robot controller next time.
Ver.1.4.* or Later
| Step and Order | Description |
|---|---|
| 1. Setup (Operating Each Axis by 5 Degrees) | Move each axis manually by 5 degrees or more. This step is complete when all the axes have been moved. |
| 2. Setup (CALSET) | Move the robot manually to the designated position and execute CALSET. |
Ver. 1.3.9 or Earlier
| Step and Order | Description |
|---|---|
| 1. Setup (CALSET) | Move the robot manually to the designated position and execute CALSET. |
| 2. Setup (Operating Each Axis by 5 Degrees) | Move each axis manually by 5 degrees or more. This step is complete when all the axes have been moved. |
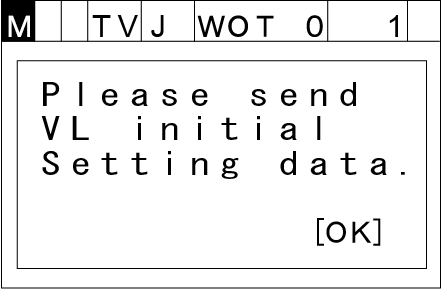
When Initial Setting Data Has Not Been Received
If the initial setting data has not been received yet, the system message shown below will appear on the mini-pendant when the controller is turned on. In this case, you cannot proceed with the VL initial setup. Follow the steps below, and then go back to the procedure above.
If You Have VL Initial Setting Data
If you have VL initial setting data, refer to “Receiving VL Initial Setting Data” to transfer the data to the robot controller.
If You Do Not Have VL Initial Setting Data
If you do not have VL initial setting data, contact our robot service representatives.
ID : 10774