
ID : 7013
Placement of Image Data
To place an image on the panel screen, designate a BitMap file at Picture property in label control.
Only BitMap(BMP) file in Windows standard format can be placed on the panel screen.
How to Place an Image
1
Import an image file
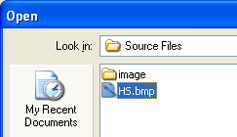
Import an image file (BMP file) to place it in the project through WINCAPSIII.
Select a folder in the project for import in project window.
[Select Project (&P)] - [Import program (&I)...], or right-click a folder and select [Import program].
Select a file for import and import it.

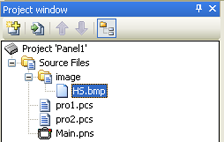
A file name for imported BMP file should be based on naming convention.
2
Place an image file in label control.
Create a label control.
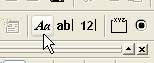
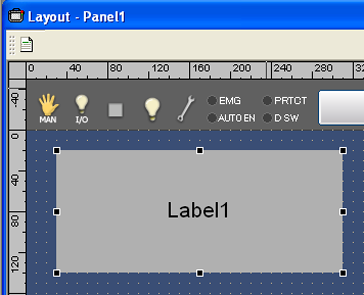
Click "Picture" property in label control and select an imported BMP file.
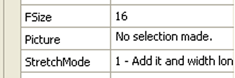
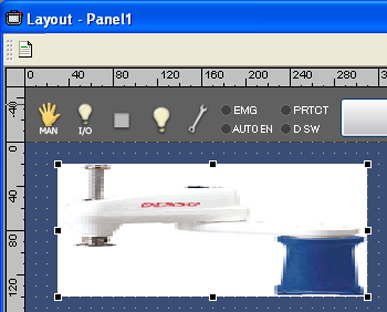
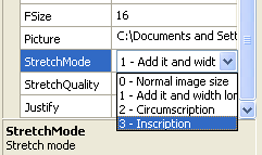
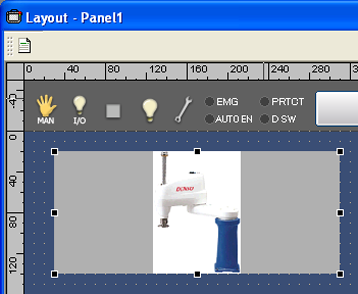
Adjust image view using "StretchMode" property, "StretchQuality" property, "Width" property and "Height" property.
3
Saving of panel screen file and data transmission
Save a panel screen file and transmit data to the COBOTTA.
Placement of Image Data in PacScript
You can place an image file and switch it in PacScript.
Sub PB_HS_Clicked()	'The button which displays a screen
	Label1.Picture = "Image\HS.bmp"
End Sub

Sub PB_CLR_Clicked()	'The button which erases a picture
	Label1.Picture = 0
End Sub
Related Terms
-
ID : 7013