
ID : 1331
Mounting the Robot Controller
Install robot controller as shown below.
Installation Caution
-
When using the robot controller in any environment where there is mist, put the controller in an optional robot controller protective box. The robot controller is not dust-proof, splash-proof, or explosion-proof.
Note that the controller protective box is not mounted on a UL-listed robot controller. - Set up the controller at the place where it is easy to replace air filters.
- The installation jobs should be handled by at least two persons.
-
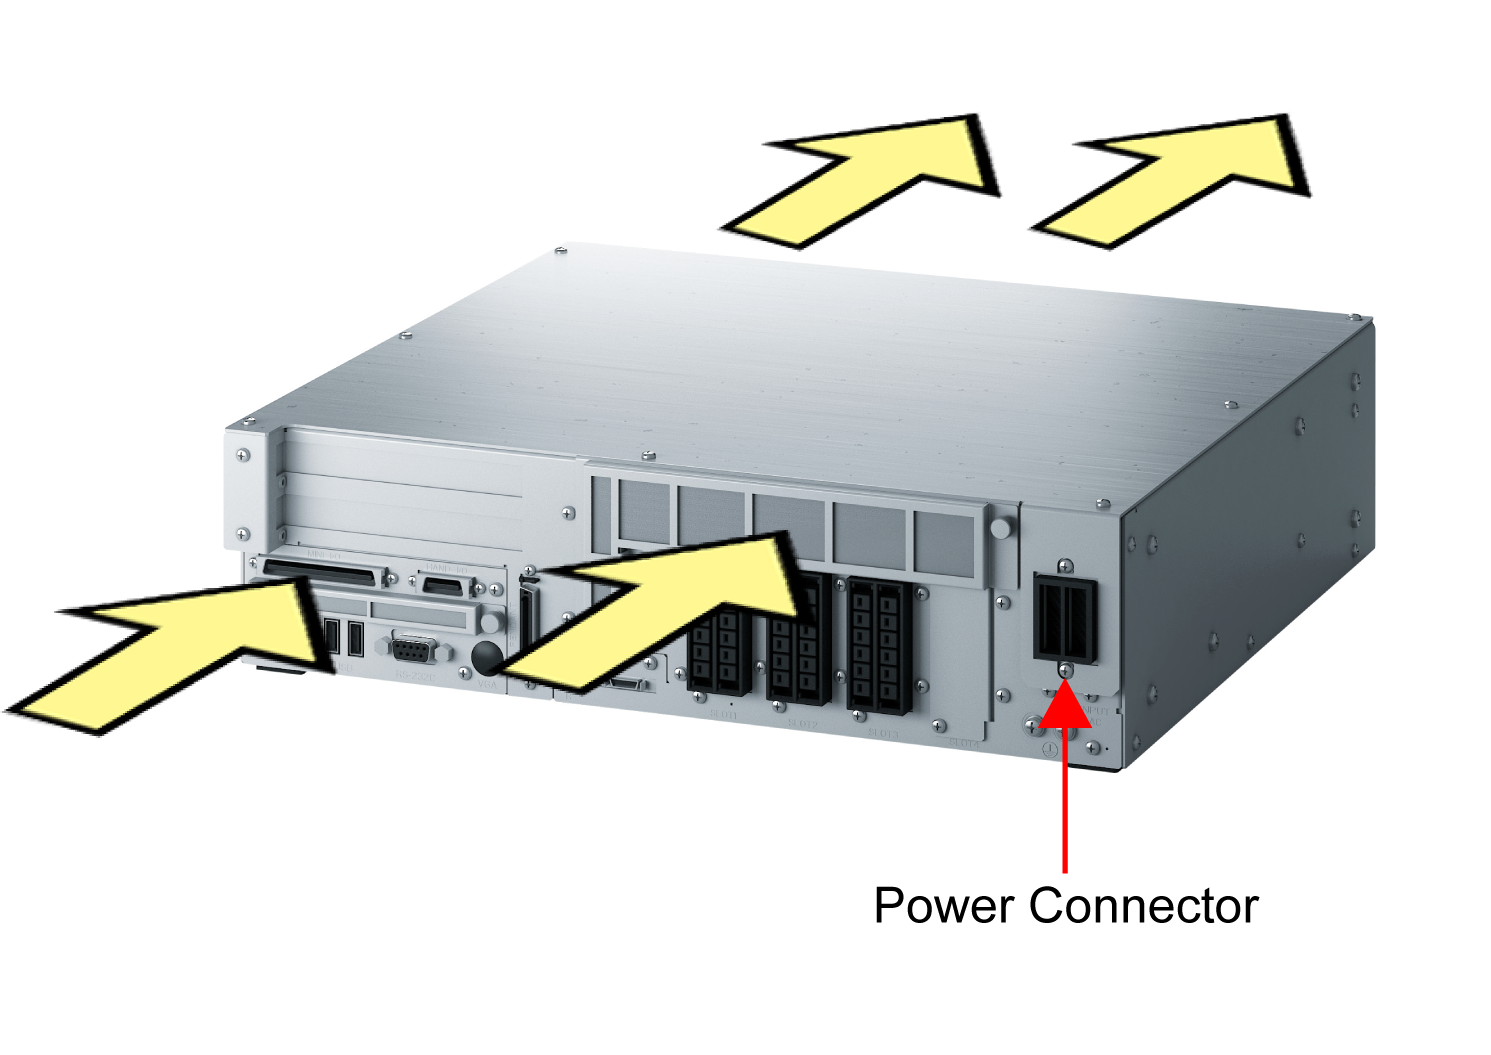
Do not place anything within 200 mm from the air inlet and outlet of the robot controller.
-
The robot controller has no air filter on the air outlet side. In wall-mounted installation, therefore, to prevent free-fall dust or dirt from getting into the controller, set up the controller with the air outlet side not facing upward.
- System software installation, such as upgrade, is done by USB memory. When setting the controller, be sure to keep enough space in the vicinity of USB connector to connect USB memory.
Stand-alone Installation
Installation by Fixing, Installation on Wall
It can be mounted on the frame or installed on the wall by using the stay set for wall-mount of the robot controller option.
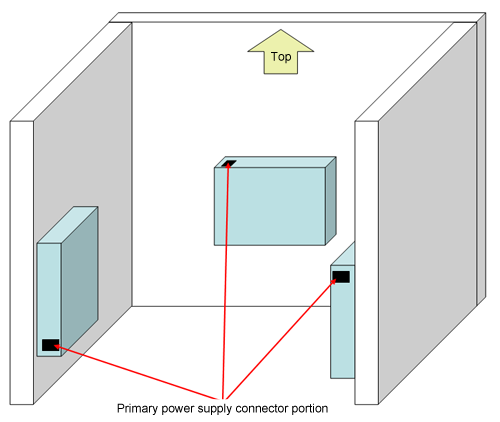
Wall-mounting installations (see figure below) are available.
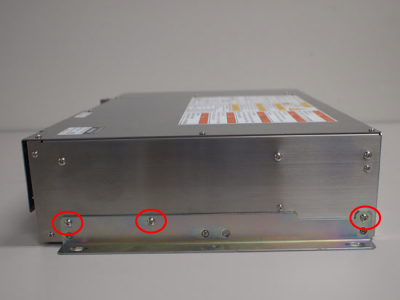
Fix each stays on the both side of the controller by using existing screws (three portion) of the controller.
The stay set (option part) comprises a long stay and a short stay. Fix each stay as follows;
- Long stay : Fix on the left, viewed from the front of the controller.
- Short stay : Fix on the right, viewed from the front of the controller. (power cable's side)
Mount stays on the frame or wall.
Upright Setting
When placing the controller in the upright position, it is recommended to use customer-prepared parts to fix the controller to the wall and floor.
For details, refer to the following links.
ID : 1331