
ID : 2289
Creating a Fence Model
Create and edit a fence model used in the Virtual Fence function.
Procedures
1
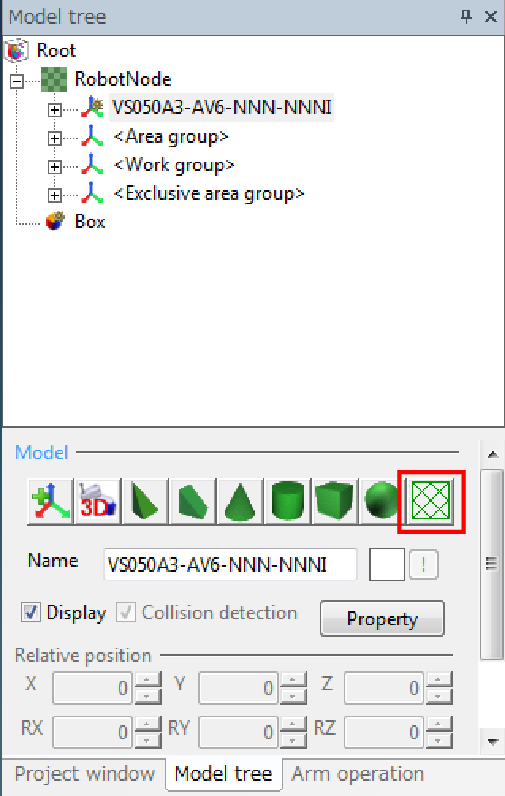
Click the [Model tree ]![]() (fence) button.
(fence) button.
If a fence group has been already created, an error message will appear.
2
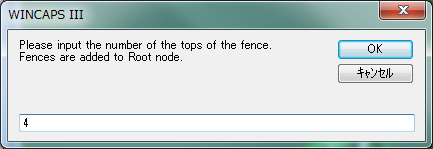
Input the number of the tops of the fence.It should be in the range of 3 to 10.
3
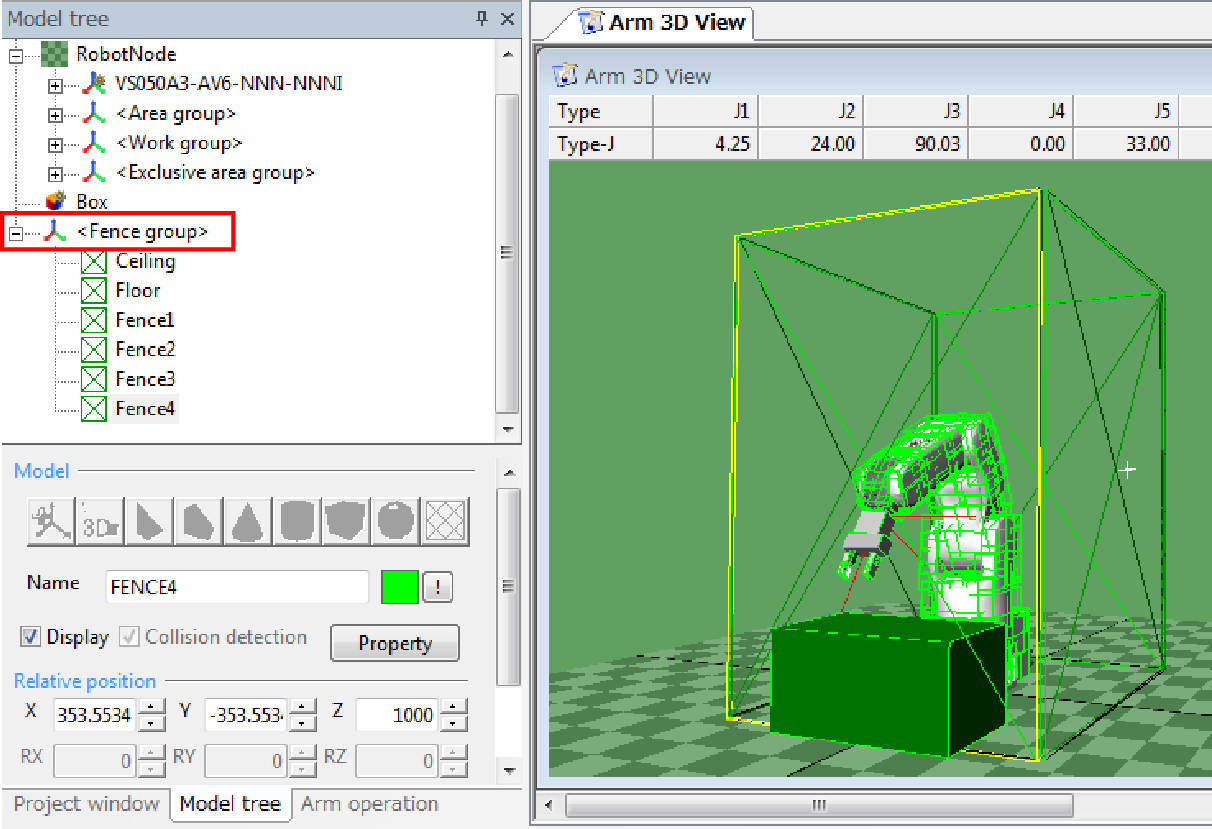
[<Fence group>] is added to [Model tree], and an arm 3D view image appears.
| Name | Meaning | Remarks |
|---|---|---|
| [<Fence group>] | Parent node | It is added just below [Root], and [Ceiling], [Floor], and [Fence*] are added as its child nodes. |
| Ceiling | Ceiling | It is hidden by default. |
| Floor | Floor | It is hidden by default. |
| Fence1 to 10 | Fence | These are placed uniformly on the circumference of the circle with a radius of 400 mm from the origin (0,0). |
4

Edit the position and size of the fence as required.
For the relative position of [Fence*], you can change only the values of [X], [Y], and [Z]. If you have changed them, the top position and size of an adjacent fence will be also automatically changed. To move the position of the entire fence, change the relative position of [<Fence group>].
ID : 2289