
ID : 10991
Check the Encoder Feedback
Check that the controller receives a correct response from the auxiliary axis encoder.
Checking Procedure
1
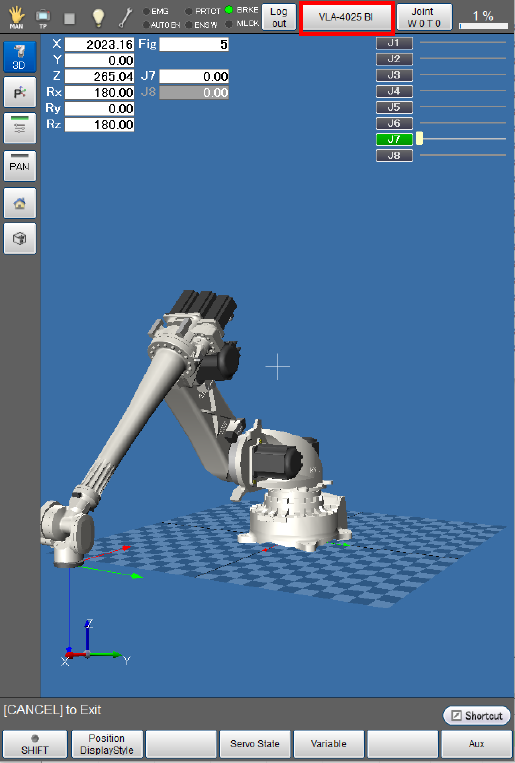
Click [F2 Arm] on the top screen to display the “current robot position” window.
Pressing the [Select Robot] button will display the [Select Robot] window.
2
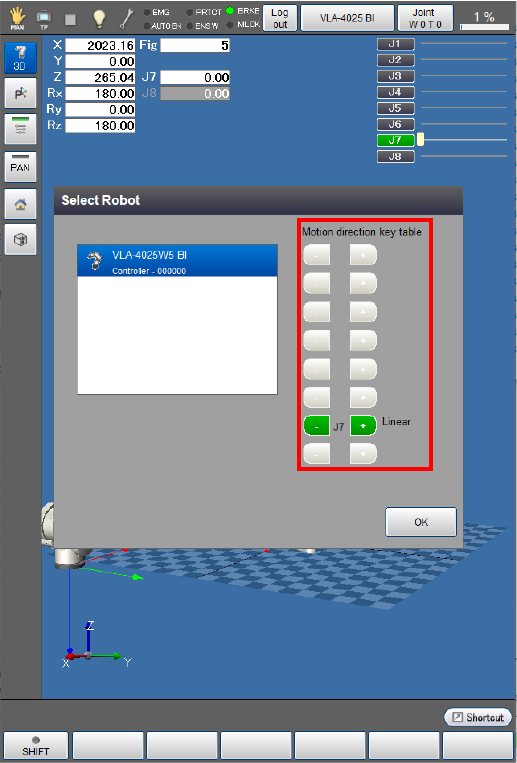
Check if the enabled axis has been displayed in [Motion direction key table].
In this example, J7 is enabled.
3
Press [OK] to close the [Select Robot] window.
4
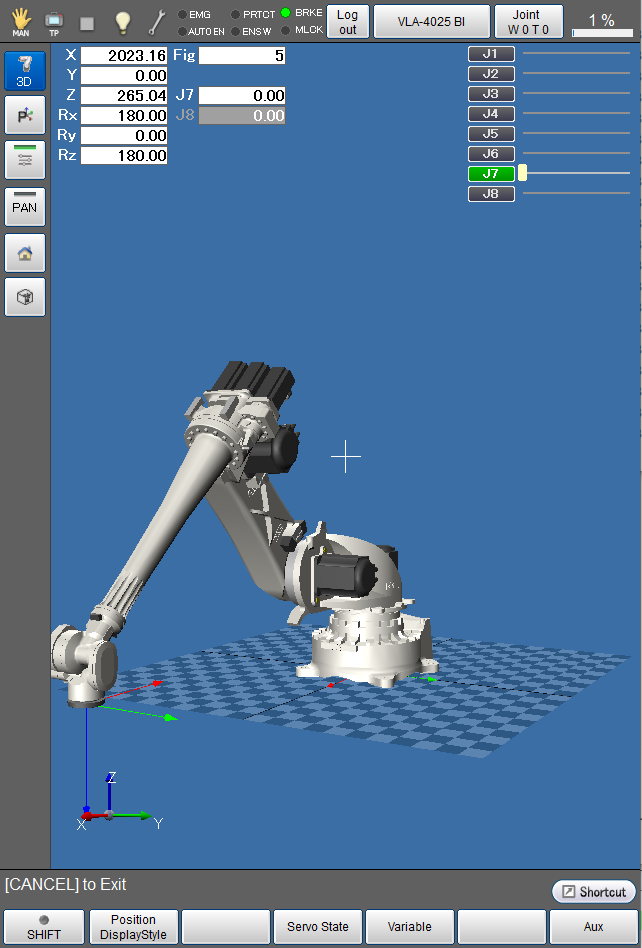
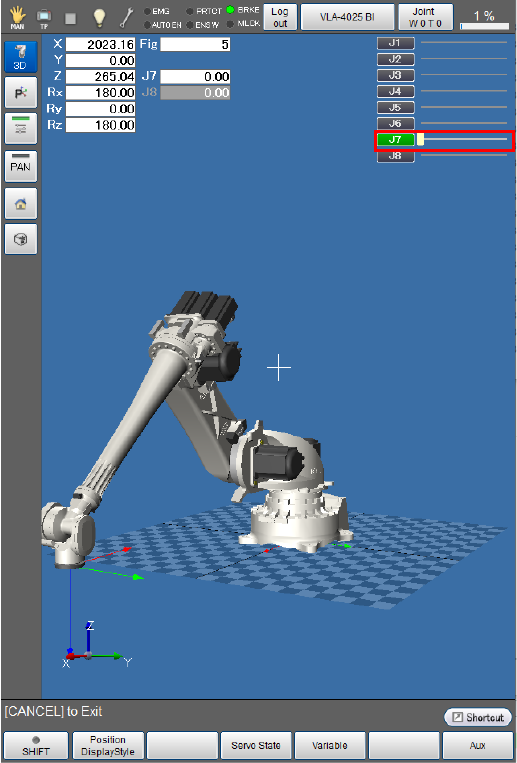
Move the auxiliary axis by hand to check if the encoder follows the axis movement.
Pushing the axis by hand will change the current position of the axis on the “current robot position” window.
In this example, only J7 is enabled. In this case, you can check only the current position of J7.
For an auxiliary axis that has a brake, release the brake through the following procedure beforehand.
How to release the brake when using the recommended brake release circuit
- Top Screen - [F2 Arm] - [F12 Maintenance] - [F1 Brake]
-
Select the axis for which the brake is to be released and then press [OK].
Press [OK] again to lock the brake except when absolutely necessary.
For how to release the brake, see "Check the Wiring”.
How to release the brake when not using the recommended brake release circuit
Release the brake in an appropriate way for the auxiliary axis function.
Run Auxiliary Axes Manually
- Turn on the motor.
- Use the smart TP to move the auxiliary axis in Manual mode in the ± directions to check if the axis operates properly.
- The axis does not need to move widely in this step because this step is intended to check if it can operate in Manual mode.
- Ensure that the auxiliary axis moves in the ± directions as intended by the operation of the operation keys. If they are opposite, adjust the parameter [Polarity] in [Path Parameter].
ID : 10991
ID : 10991