
ID : 5271
I/O Mode Setting from WINCAPSIII
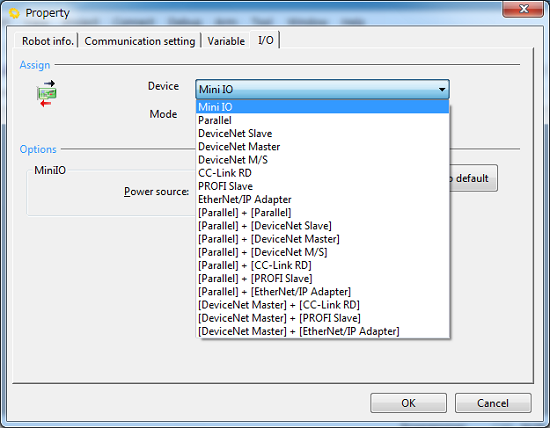
1
Choose Project | Property to display the Property window.
Choose the I/O tab.
2
In the Assign area, pull down the Device menu and select the desired I/O extension board.
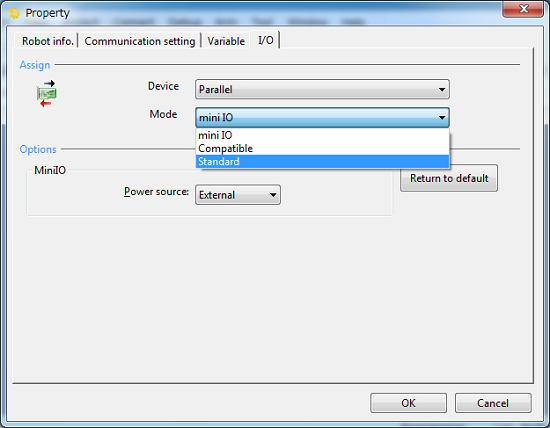
3
Pull down the Mode menu and select the desired assignment.
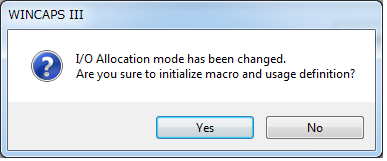
4
In the window above, press OK, and the following message appears.
In the dialog box below, press Yes if there is no problem with initialization of macro and usage definition; press No if there is a problem. Pressing either one changes the allocation.
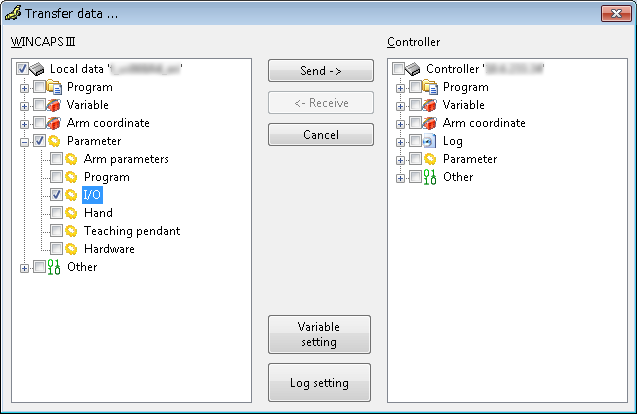
5
Choose Connect | Transfer data to display the bidirectional transfer dialog box. Select I/O in WINCAPSIII and press [Send] to transfer I/O assignment from WINCAPSIII to the robot controller.
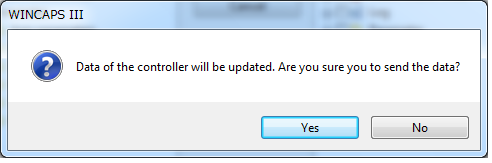
6
As shown below, the confirmation message appears. Press Yes to transfer data to the controller.
Do not select an I/O extension board not mounted. Doing so and transferring assignment data to the controller results in an error when the controller is restarted after reception of the data.
7
When sending is complete, a completion message appears. Please restart the controller.
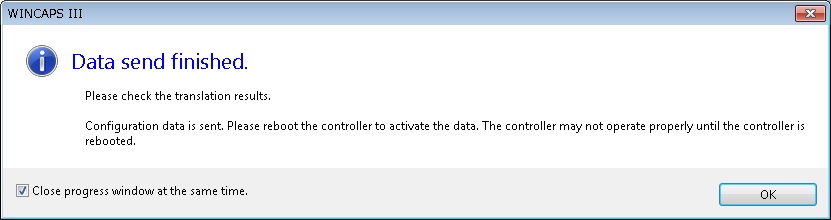
If you do not restart the controller, the data that you sent will not be reflected. Do not use when the controller is not restarted.
ID : 5271