
ID : 4403
Creating a New Project
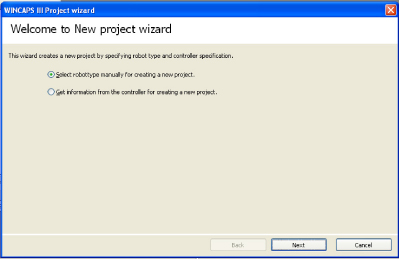
WINCAPSIII provides a wizard for creating a new project.
New projects are created using the following two methods.
- Select robot type manually for creating a new project
This method can be used when the robot is not linked. Used for creating projects in advance of robot installation (when designing equipment, etc.) Match the settings with the controller to link to. Errors will occur during linking if the settings do not match. - Get information from the controller for creating a new project
If the robot and the controller are set up, import one of projects held in the robot controller into WINCAPSIII to create a new project. Using this method does not require newly configuring the robot type and other various settings, but requires that the robot controller and PC (WINCAPSIII) be connected with each other for data exchange. When importing a project from the robot controller, it is possible to search for robots connected.
1
Choose File|New project to load this wizard.
| Back | The Back button returns the wizard to the preceding screen. |
|---|---|
| Next | The Next button advances the wizard to the next screen. |
| Cancel | The Cancel button exits the wizard. |
Starting WINCAPSIII Project wizard when the currently open project has unsaved modifications displays the following confirmation dialog, asking whether or not to save unsaved modifications before closing the project.
2
Follow the wizard's instructions to configure the project.
There are six items to specify in the case of manual robot type selection.
- Project name and location
- Robot type
- Robot controller options
- Link type
- Variables
- I/O port settings
In the case of project creation from controller information, make settings only for 1) Project name and location, and 4) Link type.
- The last four can be modified at any time, but not the first three:
- Project name and location
- Robot type
- Robot controller options
- There is a basic setting that specifies where WINCAPSIII saves new projects. For further details on these settings, please refer to WINCAPSIII Basic Settings.
- Do not check the Customer specifications check box displayed by Robot controller options for standard robots. Use for robots with special specifications (with a "#" for the robot type).
3
At the end of the wizard, [Finish] window appears. Check the content of the project, select "Action after creating a project" and then click [Complete].
A newly created project is displayed once the "Action after creating a project" is executed.
ID : 4403