
ID : 5345
Setting of the Encoder Joint Number
This section describes how to set the joint number of the encoder that is connected to the conveyor.
Setting Procedure
1 Displaying the Joint Number Selection Window
Press [Joint No.]
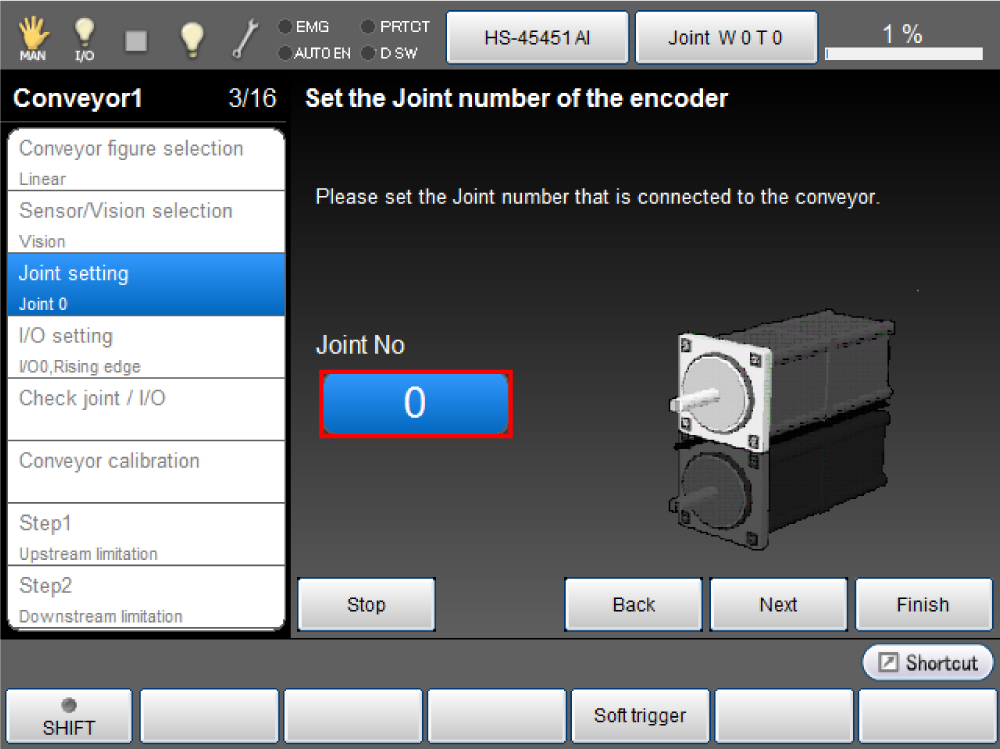
[Joint Number] window is displayed.
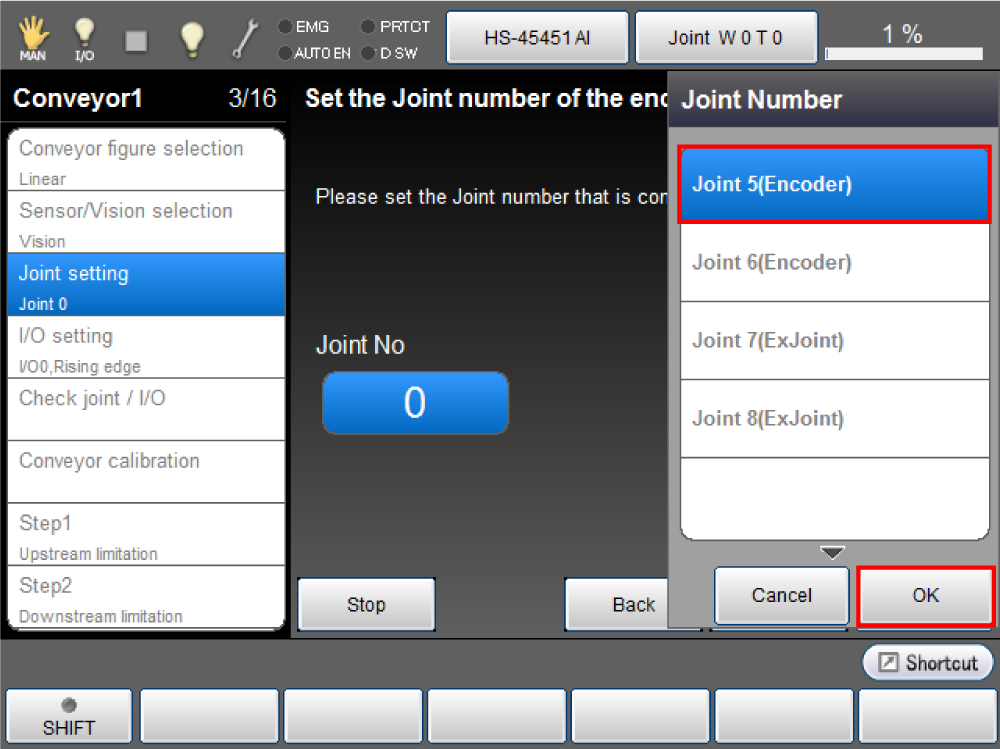
2 Selecting the Joint Number and Applying the Selection
Choose a joint number then press [OK].
Items to be displayed in the [Joint Number] window are as follows. If an applicable license is not registered, Encoder or ExJoint on the [Joint number selection window] is not displayed.
- Joint that is set to [Enable encoder only]: Available to the conveyor tracking.
- Joint that is set to [Enabled]: Available to the extended-joint tracking.
If you cannot select a joint number, please confirm the below.
- Selective extended joint is not selectable.
-
Please check whether the target joint is "Enable" in the joint setting.
The joint setting is disabled at default setting. With the teach-pendant, set the joint setting to "Enable encoder only" for the conveyor tracking, or, "Enable" for the extended-joint tracking.
For about the way of settings, see "Enabling the extended-joint". -
Please check the connection of the wiring.
For contents of check, refer to "Encoder Hub".
3 Confirmation of Setting Value
The joint number selected in STEP2 is displayed.
Press [Next].

To change the joint number of the encoder which is assigned to the conveyor, set the [Conveyor joint number (Conveyor*)] to "0" from [Tracking] - [F12 Detail] - [Conveyor tracking] beforehand.
This continues to the "I/O Setting".
ID : 5345