
ID : 4910
Setting procedure of the Encoder ID
Motors handled by robot controllers have an ID in its encoder, called encoder ID.
By checking the encoder ID, robot controllers can distinguishes and controls each motor, as well as determine whether the motor belongs to a robot or extended-joint, as shown below.
However, an encoder ID of extended-joint's motor is set to 1 in default setting, so you need to set a correct number to it before use.
Make sure not to mistake encoder ID. Misuse of encoder ID may result in unexpected movement of joints. It is dangerous. To avoid that, please take preventive measures, such as placing labels.
Make sure to check the motion before use. When motion check, secure operator’s safety.
If the same ID is used for multiple motors, connected all motors may be damaged. Make sure to perform encoder ID setting before connecting motors.
Encoder ID for Robots and Extended-joints
When Robots and Extended-joints are used
From 1 to the number of robot-axis will be the robot axis encoder ID.
The remaining will be recognized as extended-joints encoder ID.
The maximum encoder ID is 8.
Example) For 6-axis robot
"1" to "6" : Robot axis
"7" to "8" : Extended-joint
Example) For 4-axis robot
"1" to "4" : Robot axis
"5" to "8" : Extended-joint
Encoder ID for MC8 controller
All encoder ID (1 to 8) are recognized as extended-joints.
Setting procedure
The following shows how to perform the encoder ID setting.
1
Check the label on the upper side of the controller, then connect cables and motors of all axis. Set the controller to machine-locked state, and then enable axes.
2
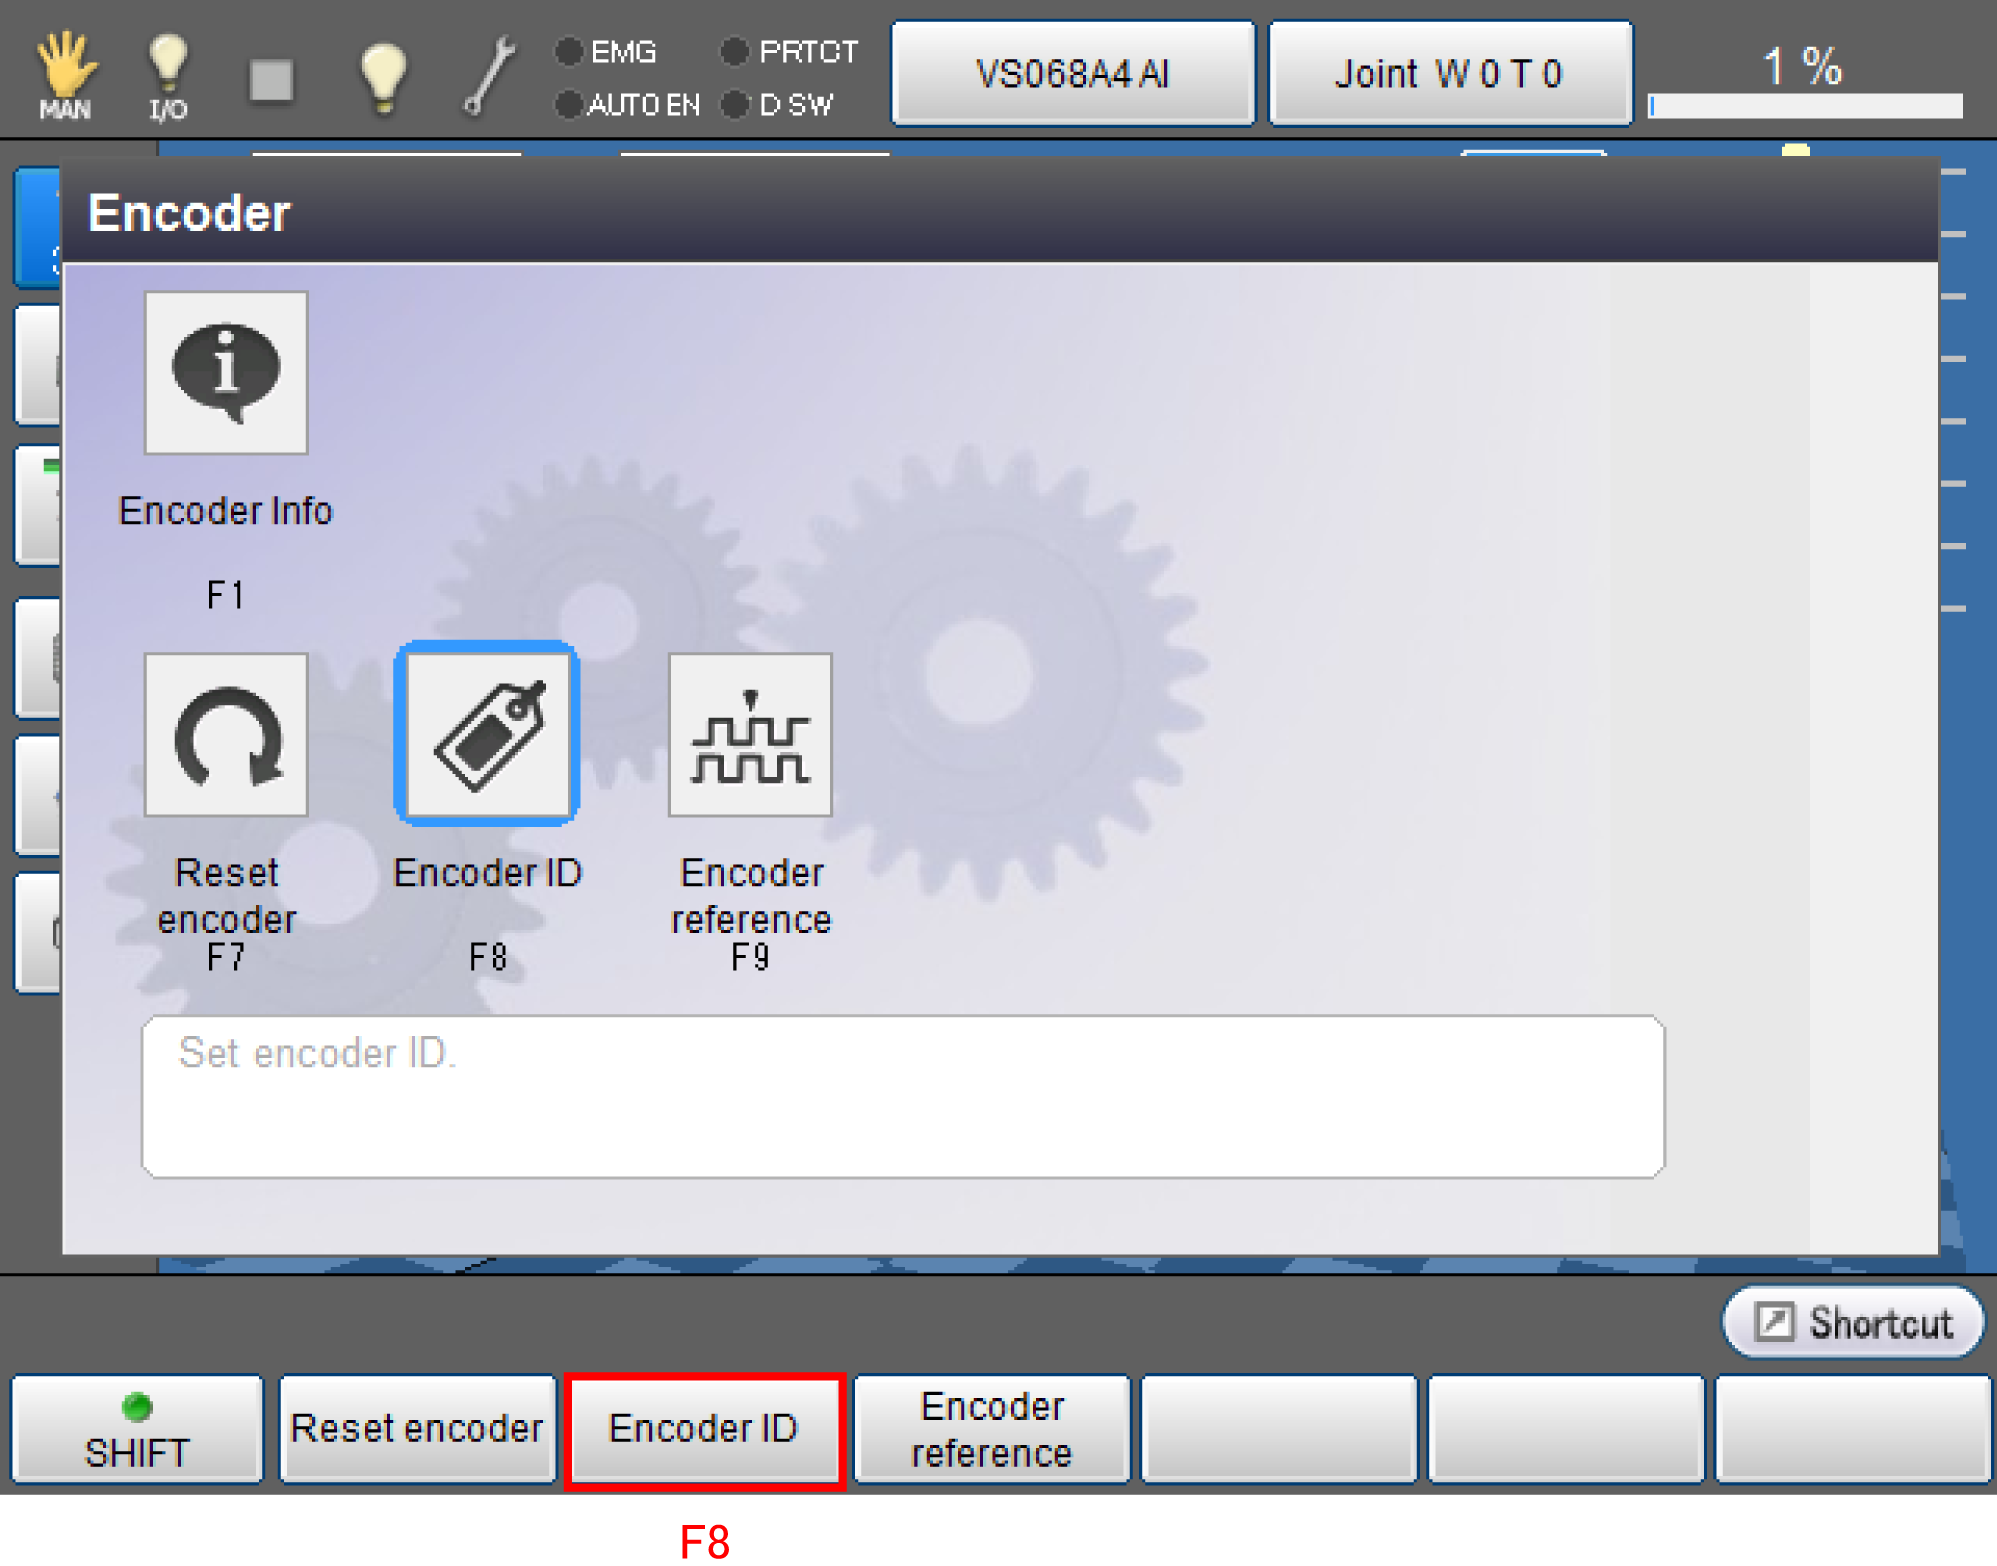
Top screen –[F2 Arm]-[F12 Maintenance]-[F2 Encoder]-[F8 Encoder ID]
3
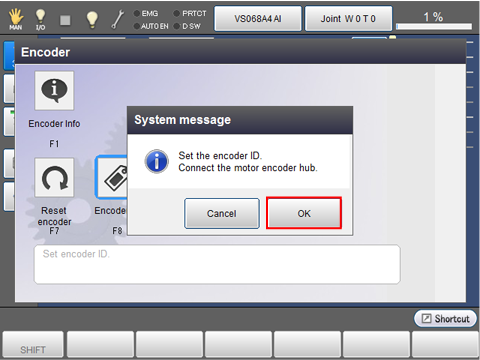
System message is displayed to ask whether you change the encoder ID settings, press OK.
Encoder ID setting is started.
To abort, press [Cancel]
4
Once the encoder ID setting has done, the system message shown below appears.
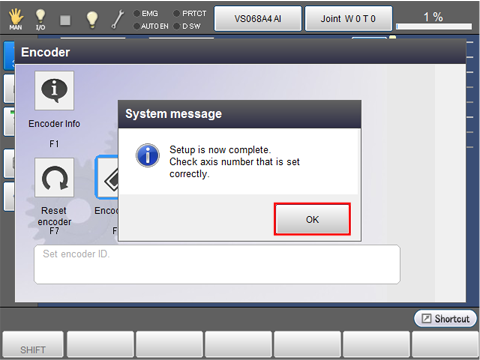
Press [OK] to return to the Encoder window.
5
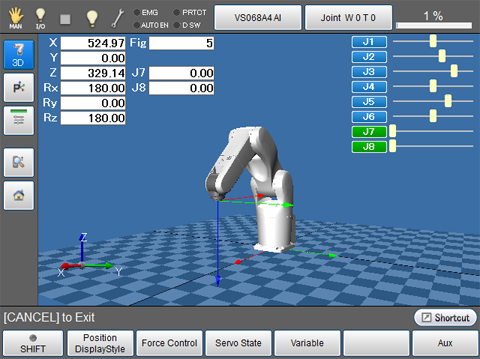
Check the Encoder ID settings.
Release the brake of joint that you intend to check, then move the robot by hand.
On the "Current Robot Position" window of the teach pendant, check that whether the selected joint moves.
Operation path: Top screen-[F2 Arm]
ID : 4910