
ID : 4930
Enabling/Disabling the Robot Arm
In adjustment of extended-joints, if you want to turn only extended-joint motors on for operational check without turning robot arm motor on, then disable the robot arm.
- Once you change this robot arm setting, be sure to restart the robot controller. Otherwise, an encoder-related error may occur.
- If the robot arm is disabled, turning the motor power on will not start the robot arm motors.
Setting procedure
1
Operation path: Top screen -[F2 Arm]-[F12 Maintenance]-[F10 Joint Settings]
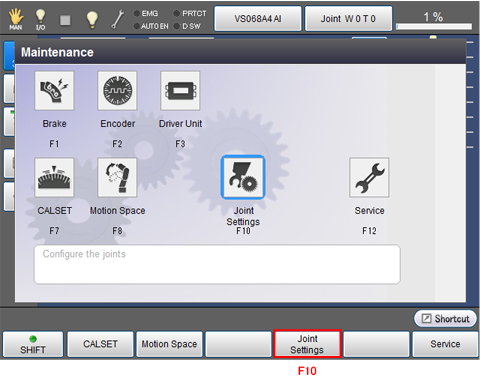
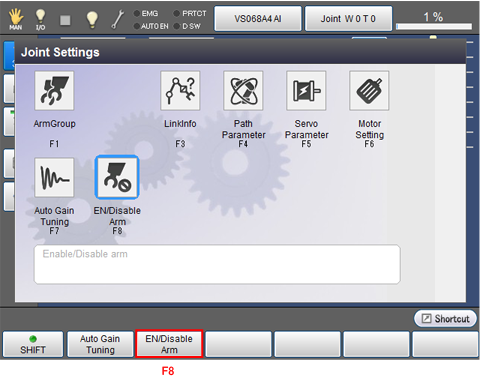
Joint Setting window is displayed.
2
Press [F8 EN/Disable Arm]
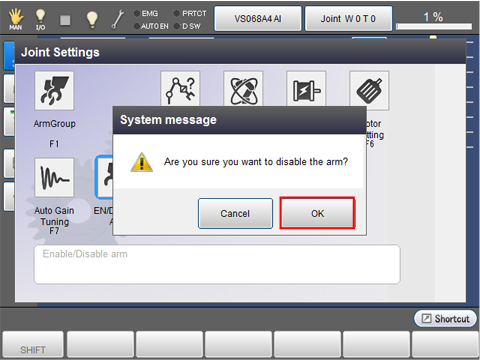
3
System message appears to confirm whether to disable the robot arm, then press [OK] to disable the robot arm.
The robot arm is not disabled if [Cancel] is pressed.
4
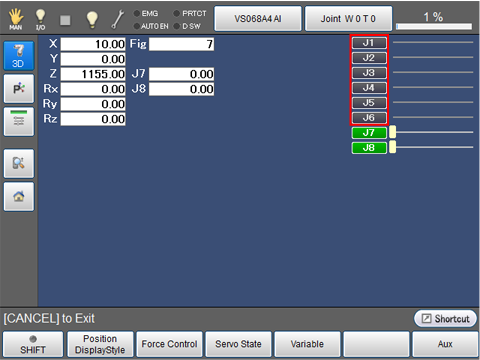
Check that the robot arm is disabled.
If the setting has changed properly, the position information bar shown on the upper right of the window turns to gray, which means the robot arm is disabled. In this example, J1 to J6 are gray.
5
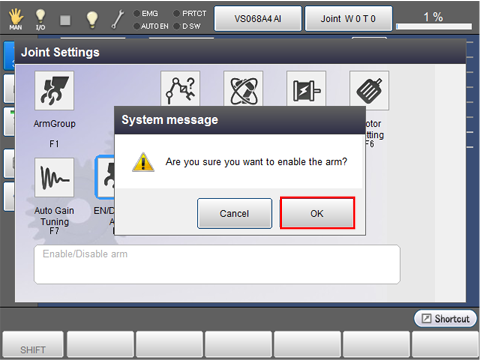
To enable the robot arm, open Joint Setting window from Top screen -[F2 Arm]-[F12 Maintenance]-[F10 Joint Settings]. Press [F8 EN/Disable Arm] then press [OK]. (see STEP1 to STEP3 of this section)
The system message shown below is displayed to confirm the change.
6
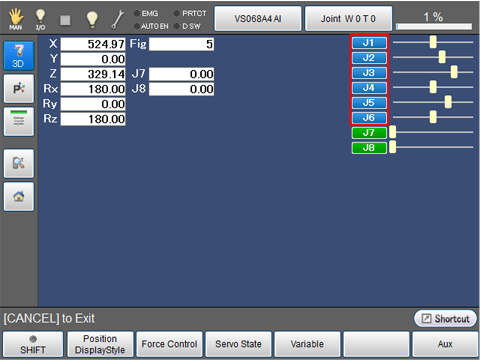
Check that the robot arm is enabled.
If the setting has changed properly, the position information bar shown on the upper right of the window turns to blue, which means the robot arm is enabled. In this example, J1 to J6 are blue.
ID : 4930