
ID : 5090
Executing CALSET
Release the brake of the extended-joint motor and move the optional mechanism connected to the motor to the CALSET reference position.
Then, execute CALSET in the CALSET reference position, referring to the operation procedure shown below.
To change the CALSET reference position after executing CALSET, enter RANG value with reference to "Setting the path configuration parameters".
Performing CALSET Operation
1
Press Top Screen — [F2 Arm] — [F12 Maintenance] — [F7 CALSET]
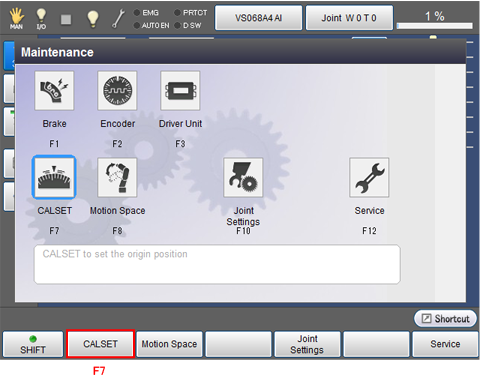
CALSET menu window appears.
2
Press [F1 CALSET]
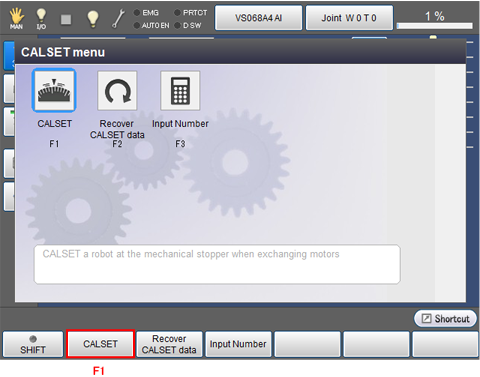
CALSET window appears.
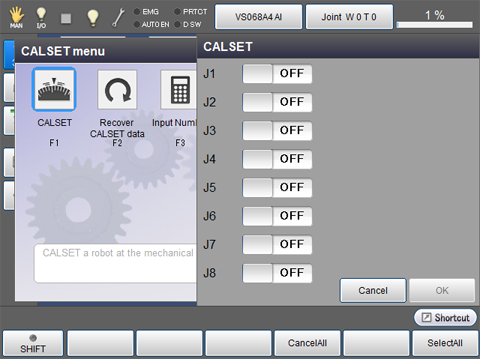
3
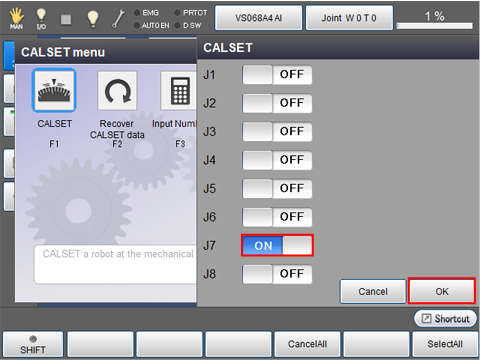
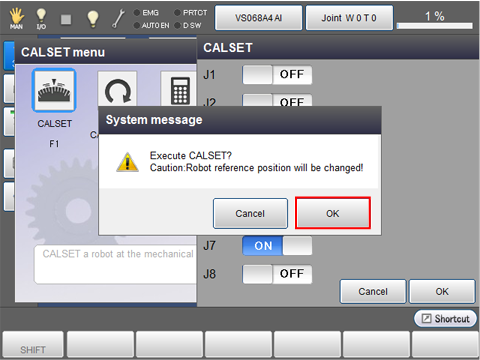
Select the extended-joint to perform CALSET and then press [OK]. The indicator of the selected button turns into "ON".
The following examples are the displays when the 7th axes is selected.
After selecting a joint to be CALSET, press [OK].
4
System message appears, press [OK] to execute.
CALSET is executed.
CALSET is not executed if [Cancel] is pressed.
5
If the CALSET is successfully completed, the following system message appears.

To return to the CALSET menu window, press [OK].
ID : 5090