ID : 6967
Operation Procedure
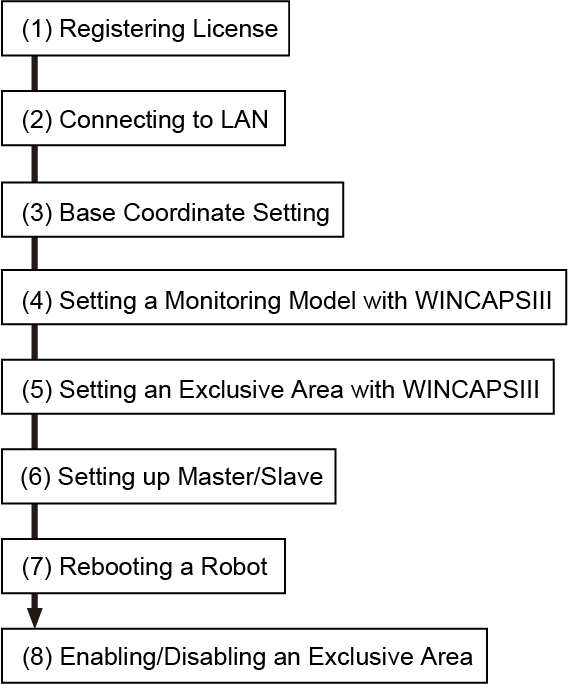
The following shows procedure of how to create a model with WINCAPSIII.

(1) Registering License
This function requires a license key for each robot since this is an option function.
To enter a license key, use a Remote TP/Virtual TP.
For information on how to enter your license key, please refer to "Displaying and Adding/Deleting Function Extension Screen"of TP App Operation Guide.
(2) Connecting to LAN
Set up an IP address for each robot. For details, refer to "Displaying and Changing Communication Settings Screen" of TP App Operation Guide.
(3) Base Coordinate Setting
To set an exclusive area on the World coordinate system, set the base definition with WINCAPSIII.
(4) Setting a Monitoring Model with WINCAPSIII
Set a monitoring model with Arm modeling of WINCAPSIII.
(5) Setting an Exclusive Area with WINCAPSIII
Create an exclusive area with Arm modeling of WINCAPSIII, and then send it with monitoring model data to the robot.
To create an exclusive area with a Remote TP/Virtual TP or by command, reboot a robot first.
(6) Setting up Master/Slave
Configure each robot as master or slave. For a master robot, configure communication settings as well.
(7) Rebooting a Robot
Once the master and slave robots are rebooted, exclusive control will start automatically.
Master and slave robot start simultaneously since each robot mutually communicates.
(8) Enabling/Disabling an Exclusive Area
It can be enabled/disabled by WINCAPSIII, Remote TP/Virtual TP, or command.
ID : 6967
- Related Information
- Base Coordinate Setting
- Setting a Monitoring Model with WINCAPSIII
- Setting an Exclusive Area with WINCAPSIII
- Using USB to Transfer Data
- Setting Up Exclusive Communication and Exclusive Monitoring
- Enable/Disable the Exclusive Area
- Creating an Exclusive Model with the Remote TP/Virtual TP

